
Bringing Your Starter Back to Life: A Gentle Guide to Rehydrating Your Dehydrated Sourdough Starter
There’s something timeless about sourdough — the way it connects us to slow traditions, seasonal rhythms, and the wild yeast floating in the air around us. At Willow House Goods, I’ve preserved a bit of that magic in every packet of dehydrated sourdough starter. And now it’s your turn to wake it up.
This guide expands on the rehydration card included in your kit, giving you a bit more background and context so you can feel confident every step of the way.

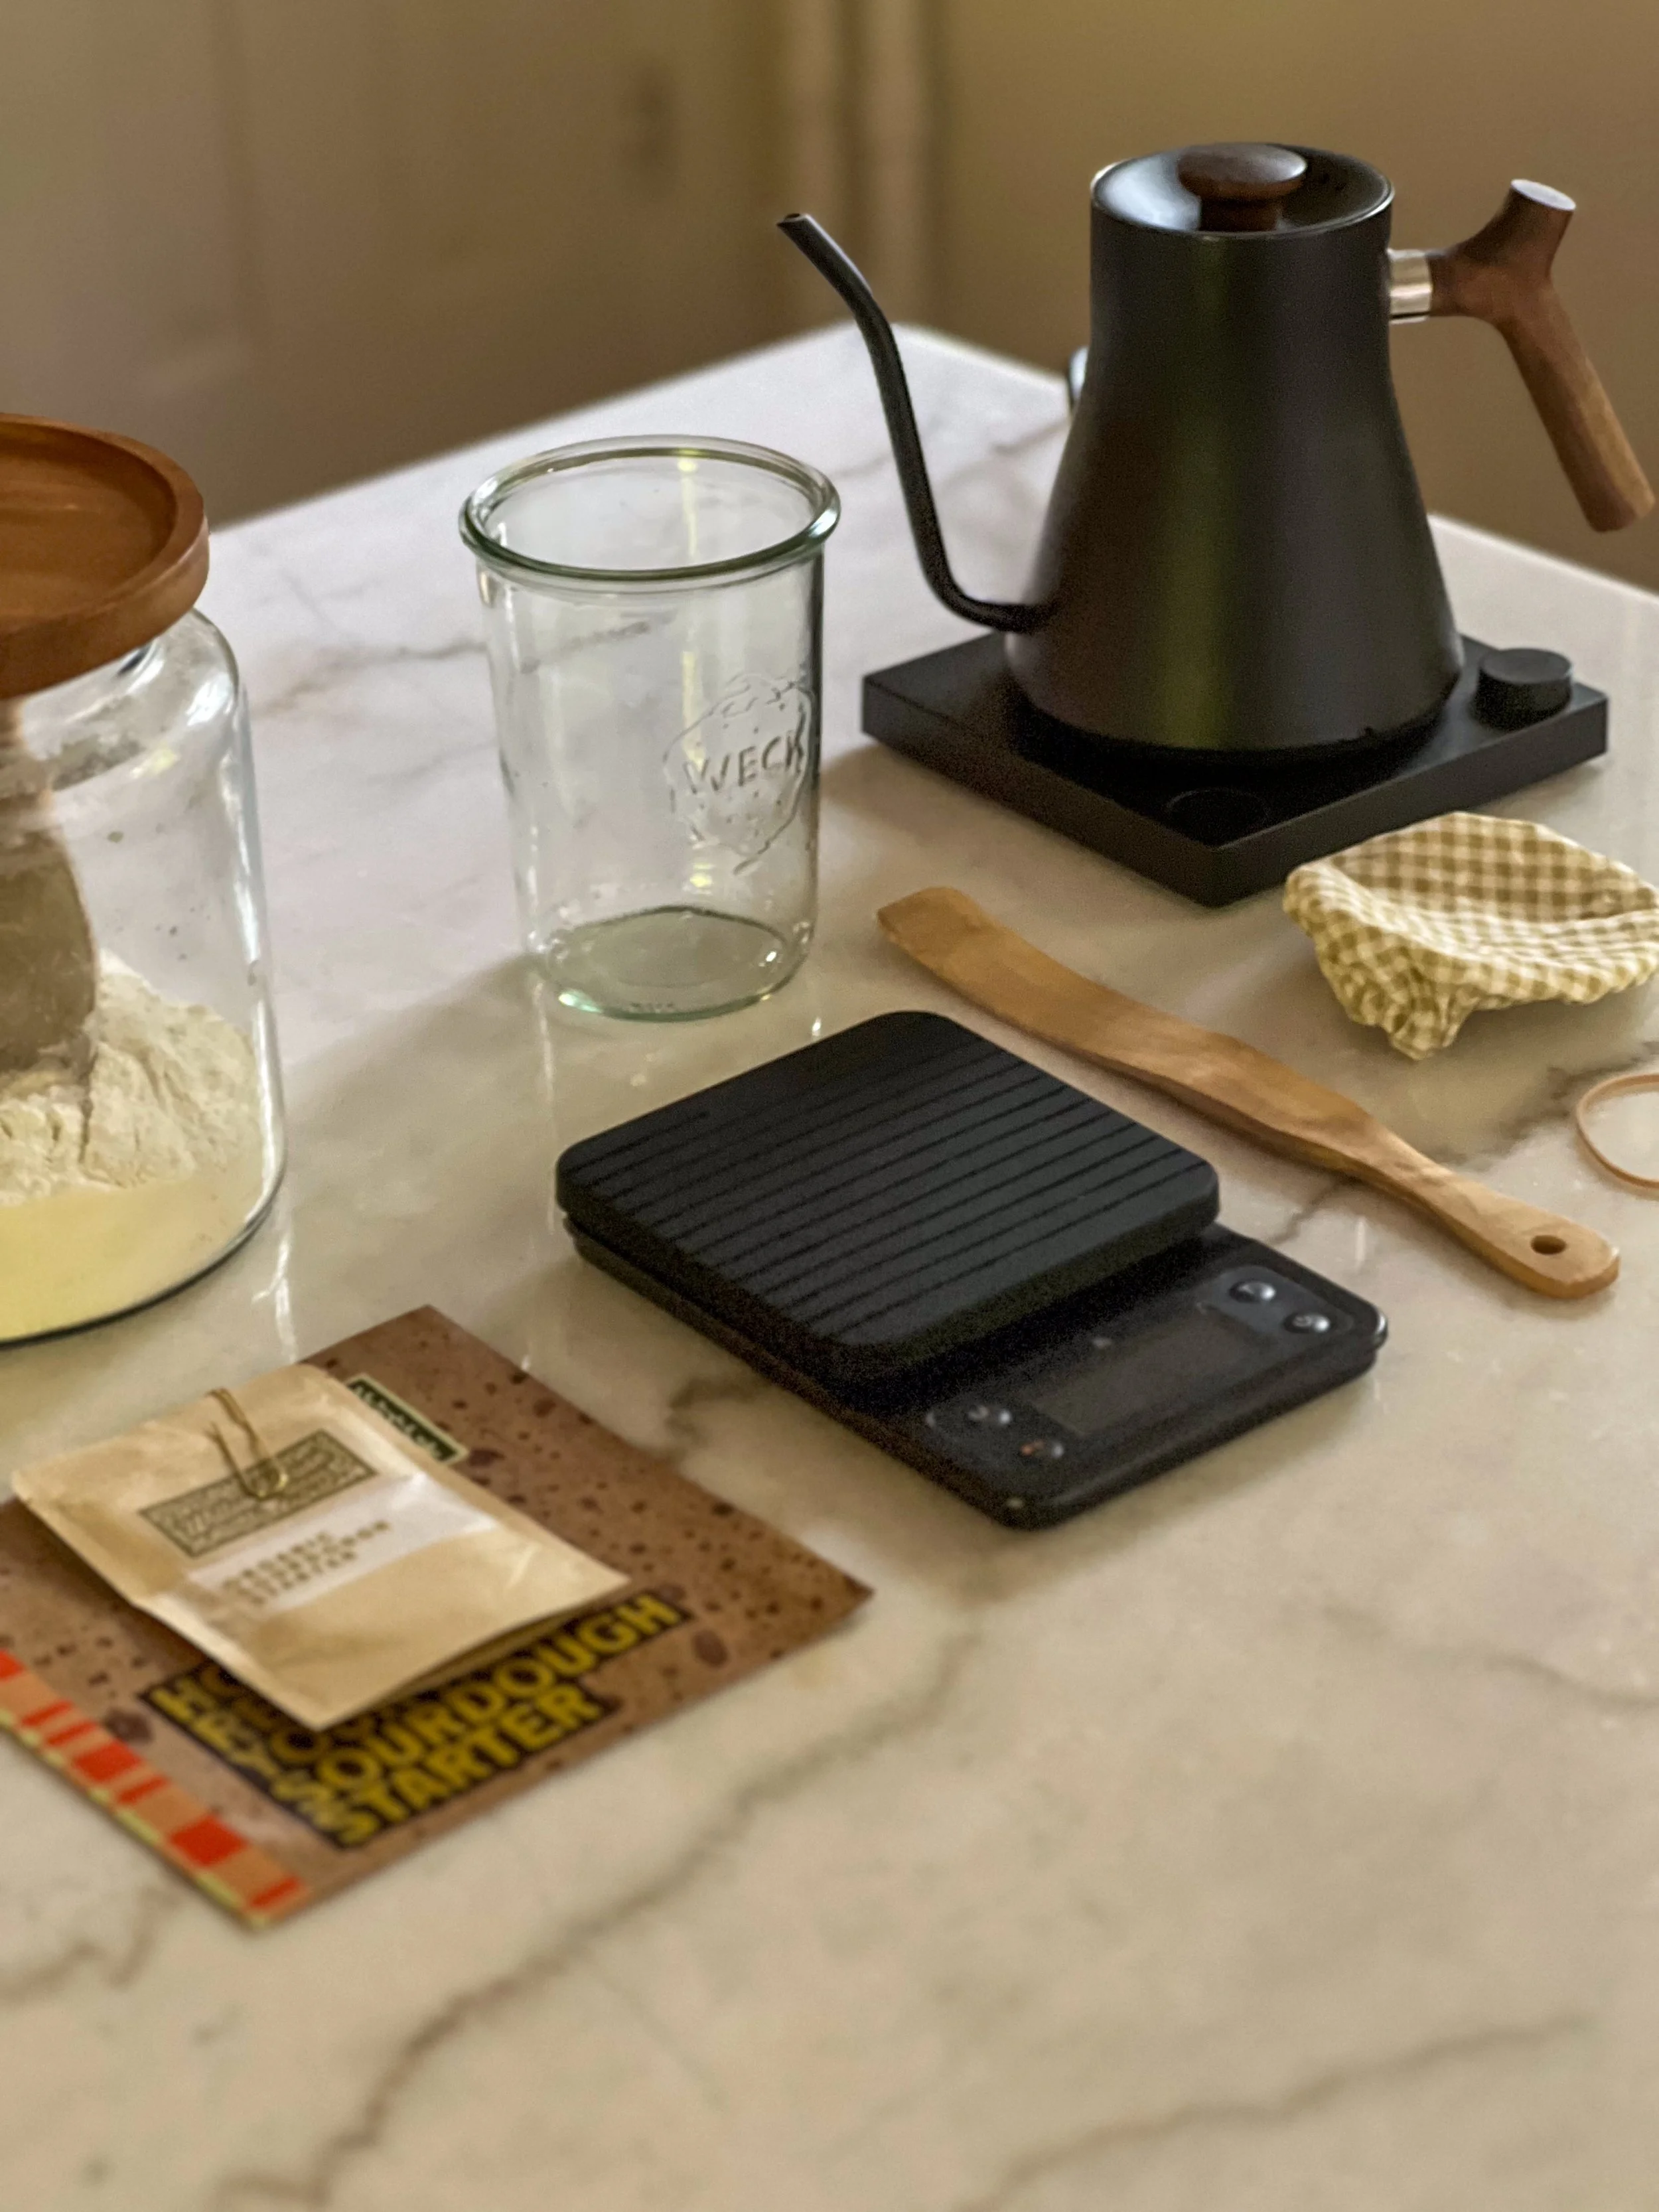
What You’ll Need to Get Started
-
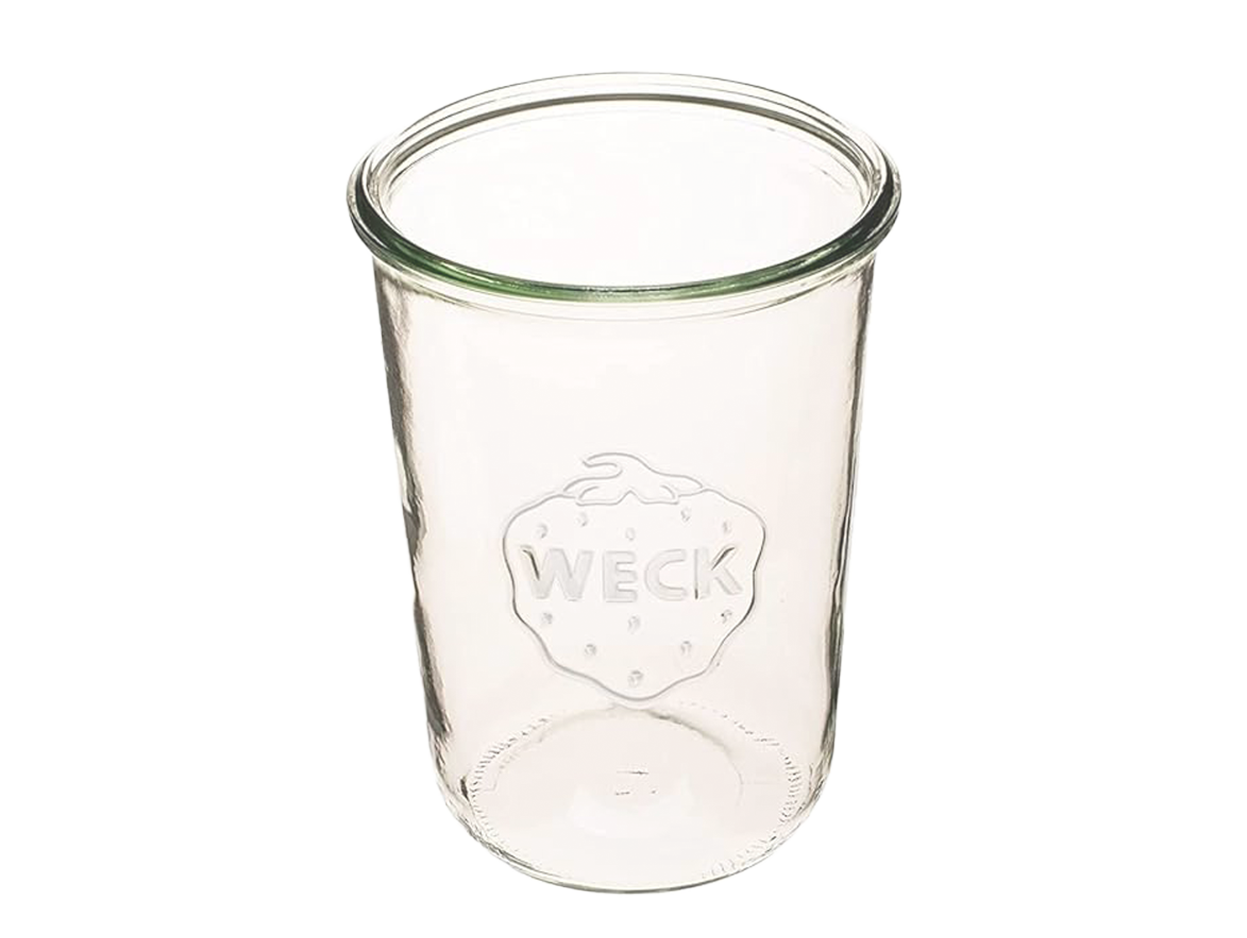
![Clear glass tumbler with embossed strawberry design and the word "WECK" on it.]()
Glass jar
-
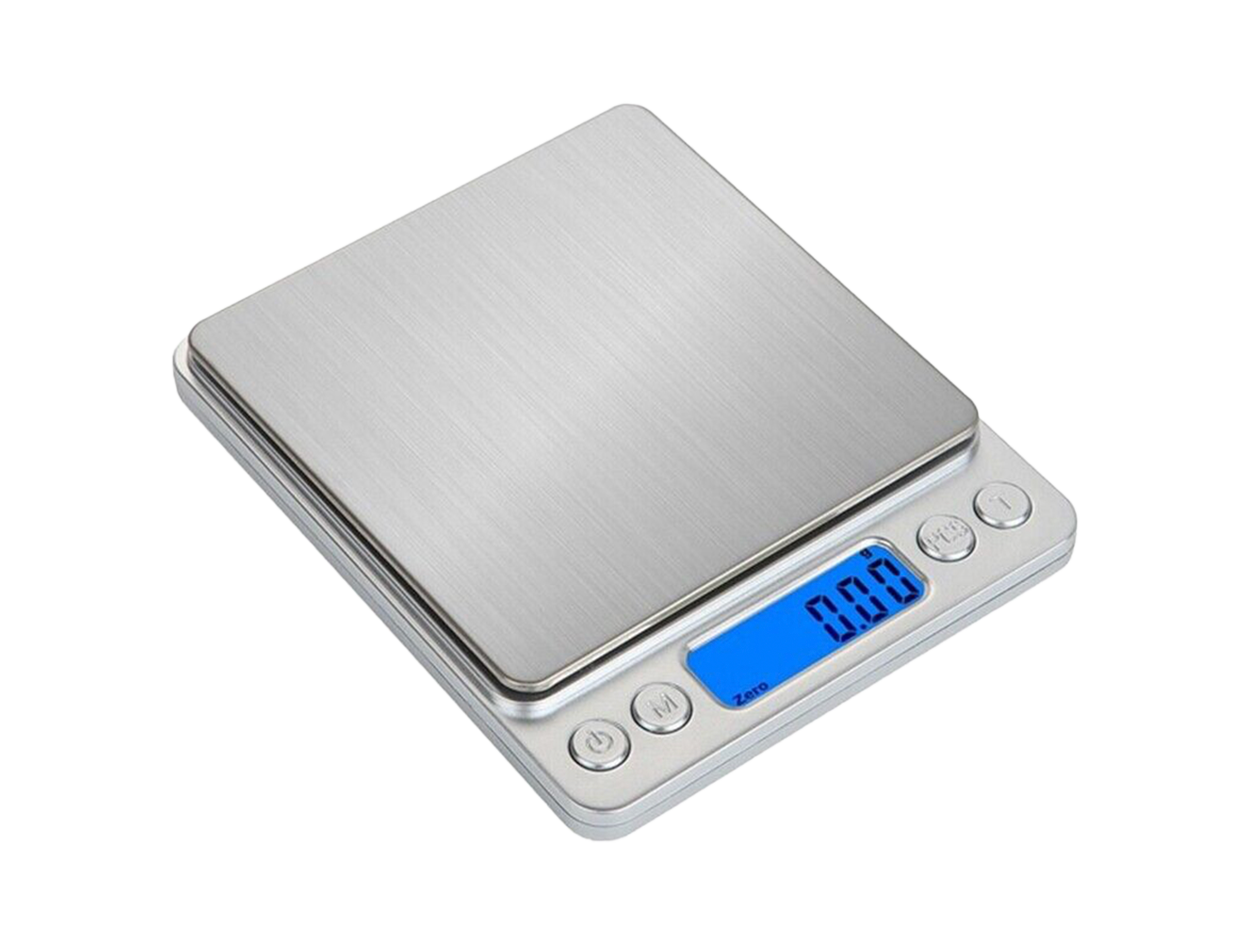
![Digital kitchen scale with a silver surface showing a weight of 0.00 pounds.]()
Baking Scale
-
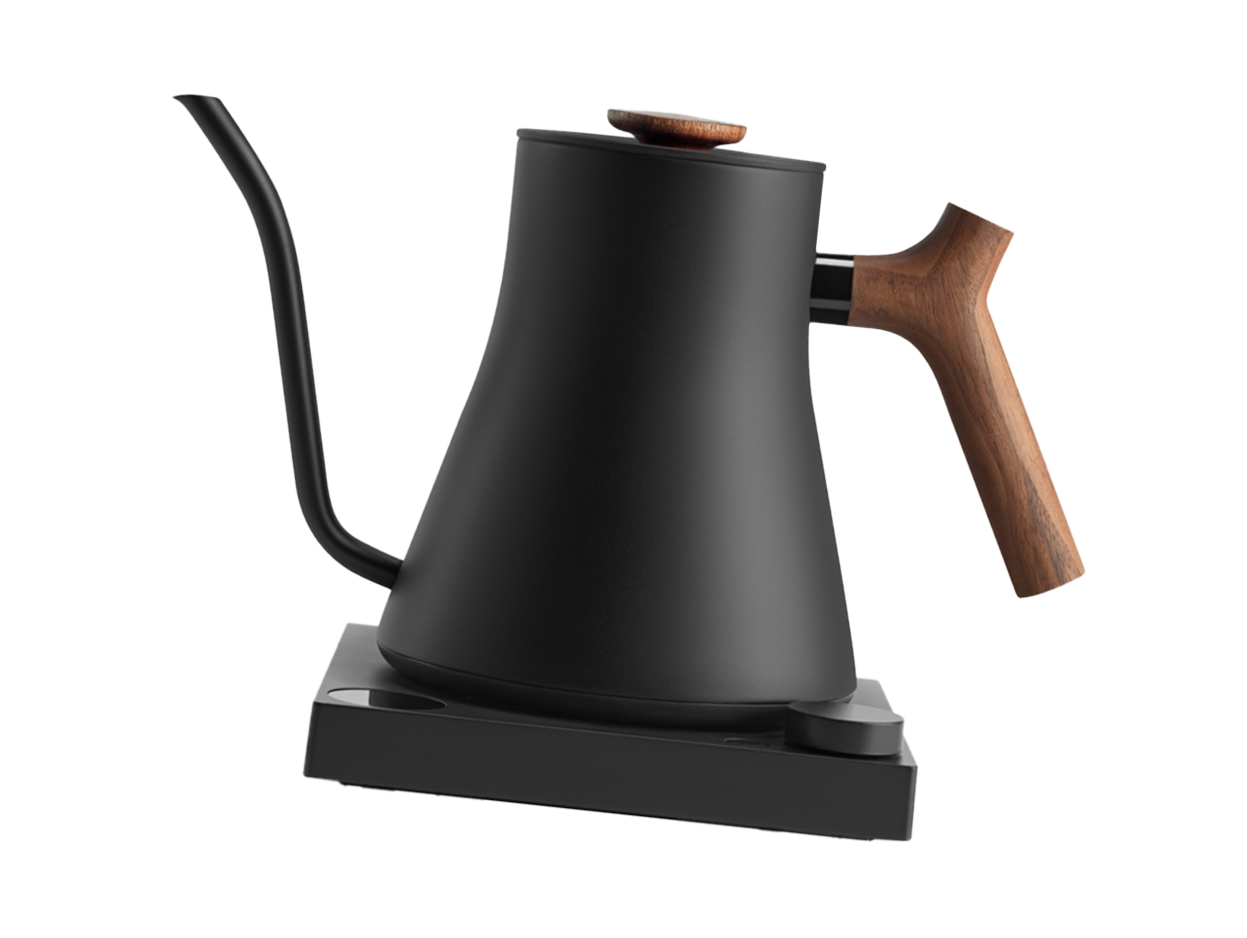
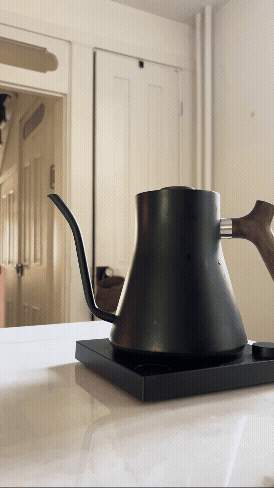
![Black electric kettle with a wooden handle and a matching wooden lid on a black base]()
Kettle
-
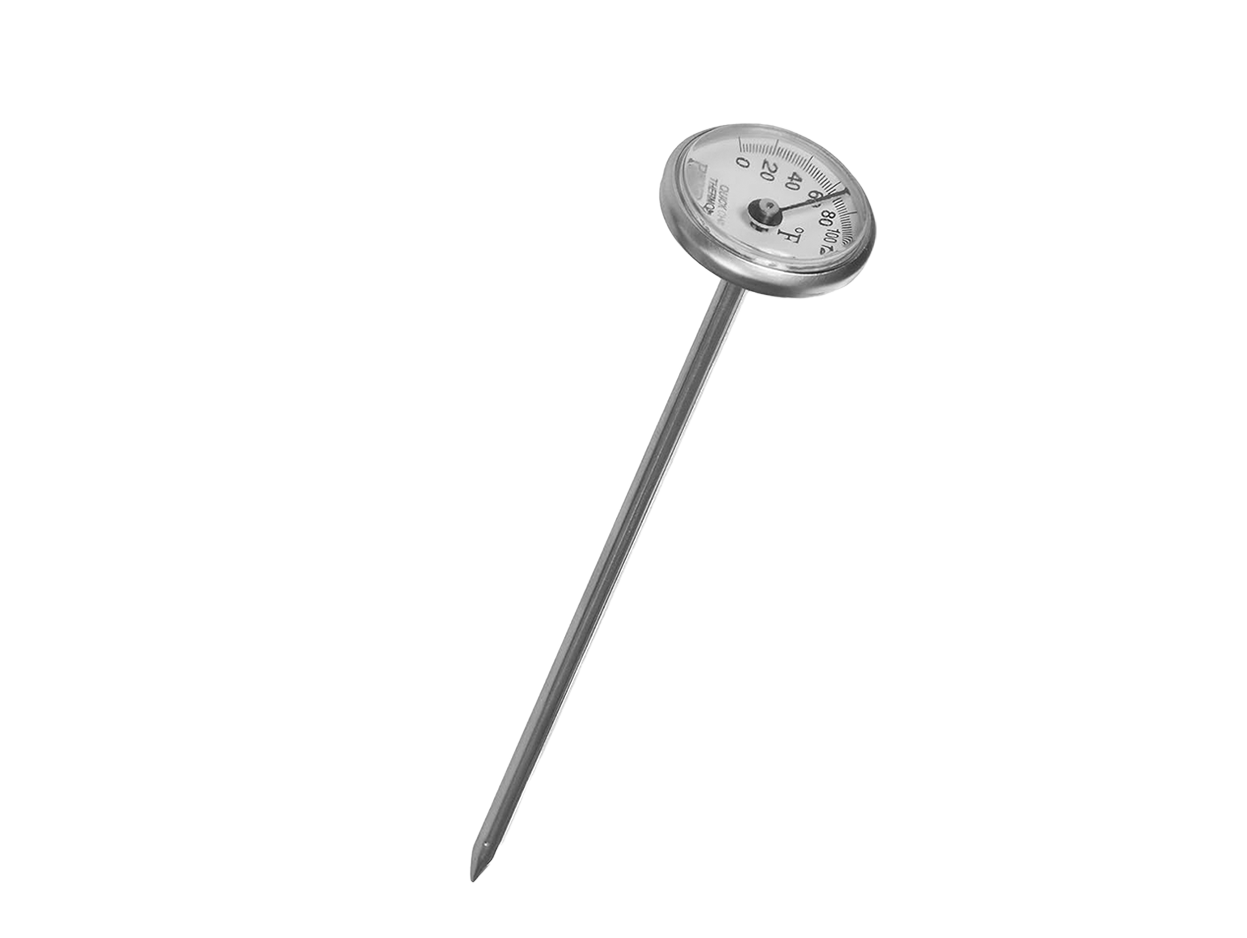
![A metal meat thermometer with a round dial and a pointed probe, showing a temperature around 140 degrees Fahrenheit.]()
Kitchen Thermometer
-
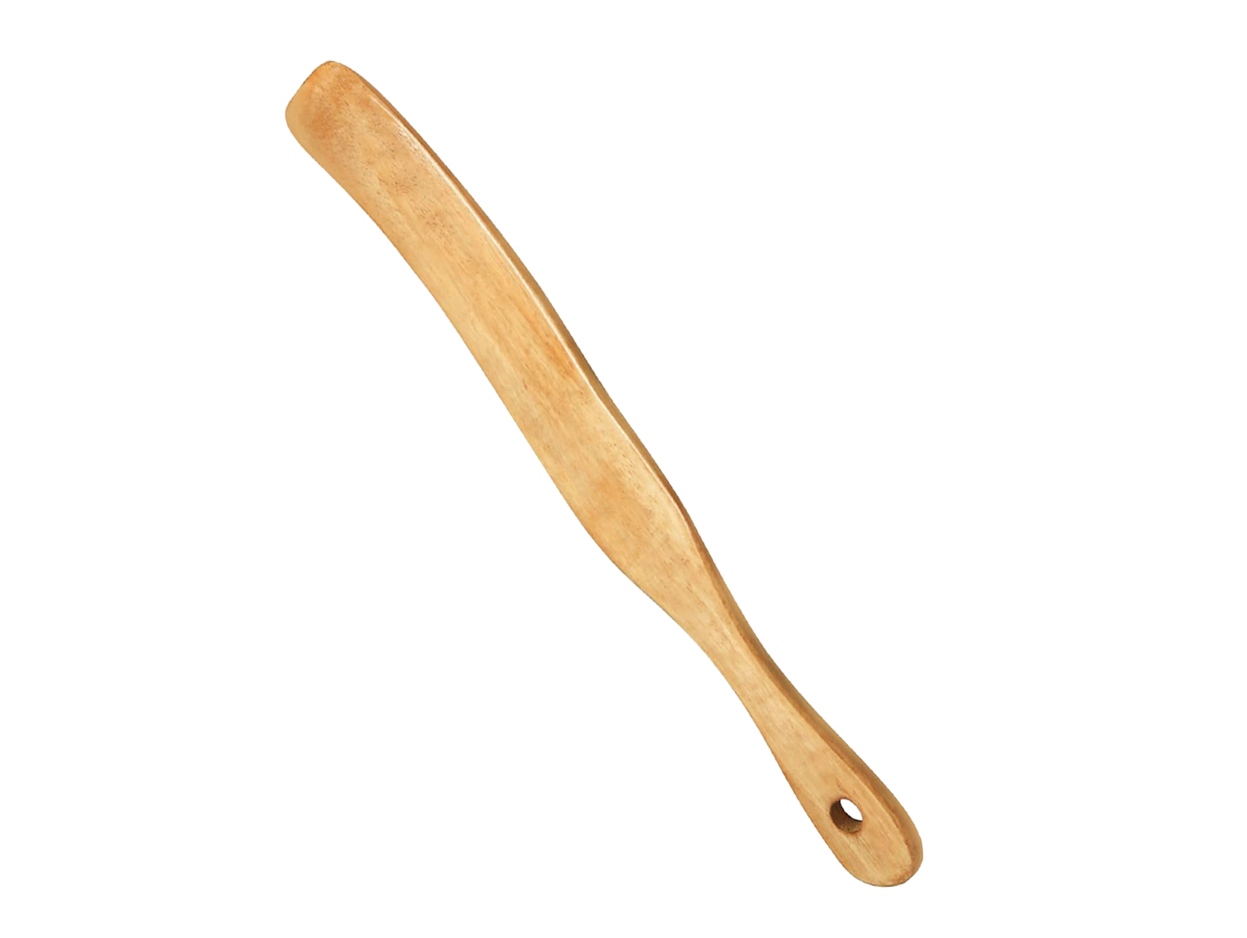
![A wooden spatula]()
Spatula/Spurtle
-
![Two rubber bands with irregular oval shapes, intertwined and placed on a white background.]()
Rubber Band
-
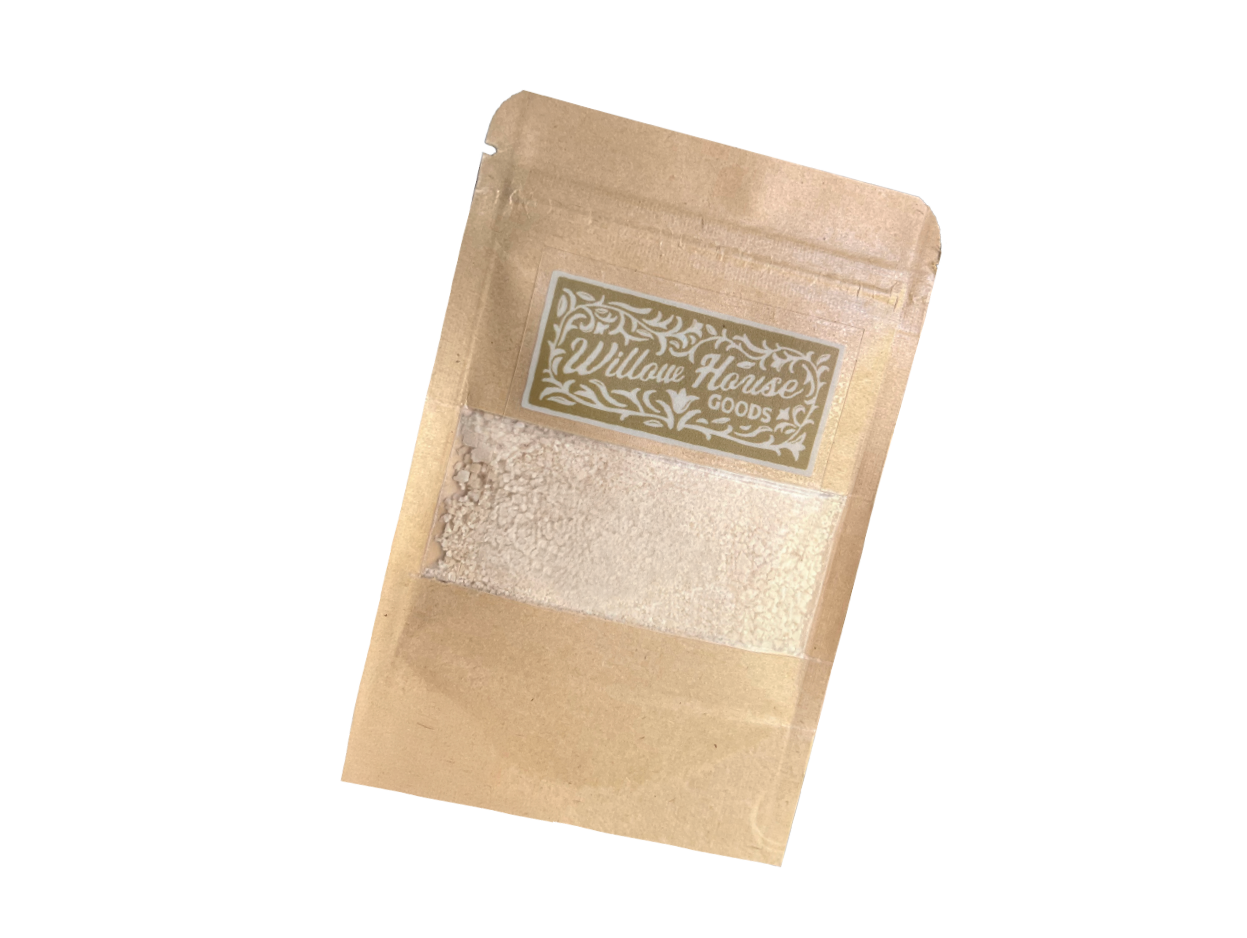
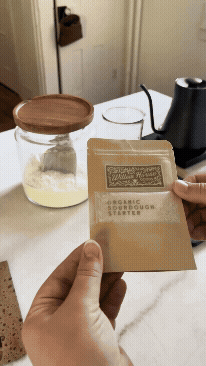
![Kraft paper pouch with a transparent window showing white powdered substance, labeled 'Willow House GOODS'.]()
Dehydrated Sourdough Starter
-
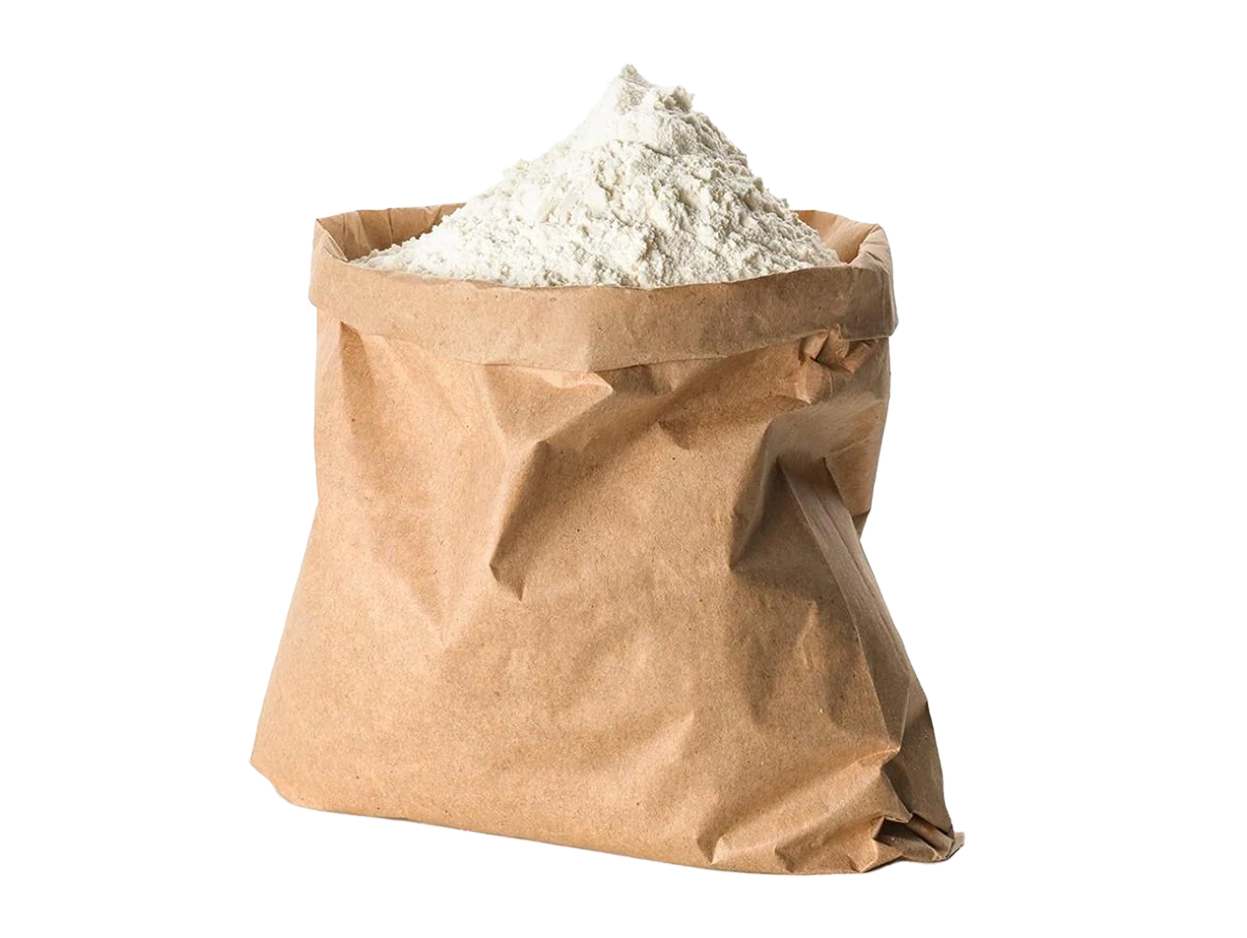
![Brown paper bag filled with white flour]()
Flour
-
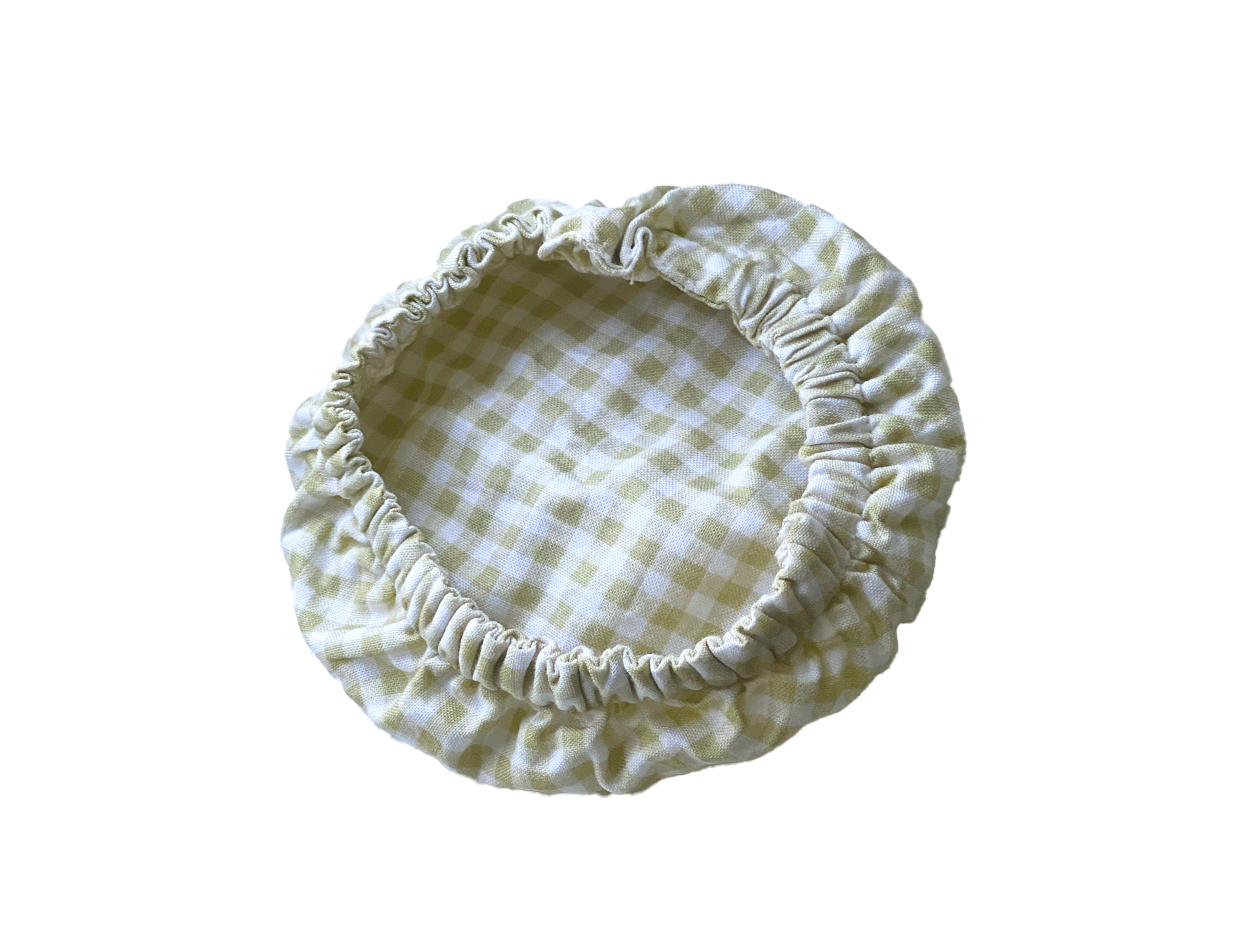
![Green fabric drawstring bag with gathered opening]()
Jar Cover

Day 1: Waking up your starter
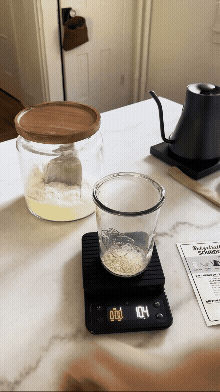
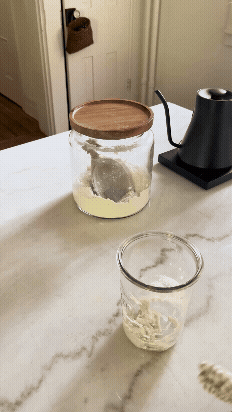
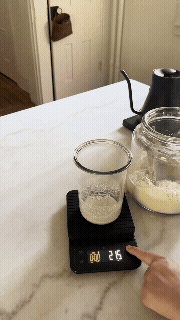
In a clean pint-size jar, add:
10g dehydrated starter (half the packet)
Each pouch of starter comes with 20 grams of starter. Some to use now, and some to save as back up if you ever need it!
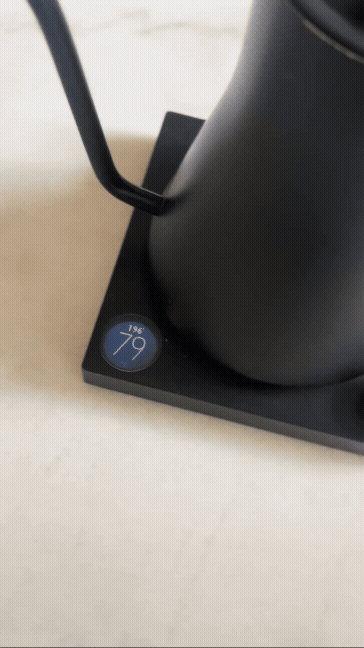
20g filtered or spring water (~80°F)
Let sit for 10 minutes
Add 20g flour (same type as your starter kit)
Stir well
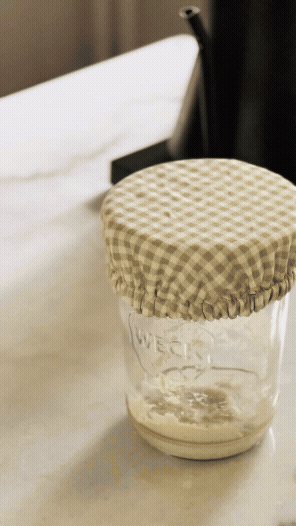
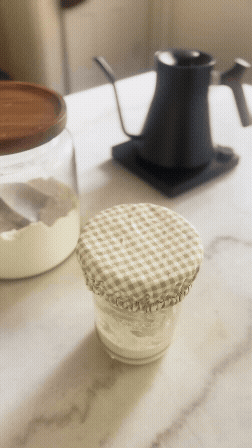
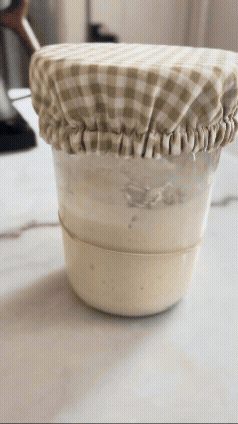
Cover loosely (not airtight)
Use a rubber band to mark the starter's level
Let sit at room temp (70–75°F) for 24 hours


Day 2: First Feed
Look for bubbles — a good sign, but no stress if not yet!
Add:
50g flour
50g water (~80°F)
Stir well
Cover loosely and let rest at room temp for another 24 hours


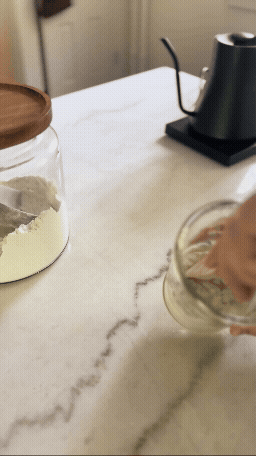
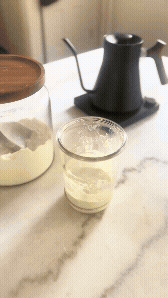
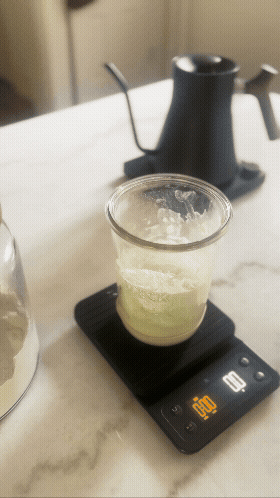
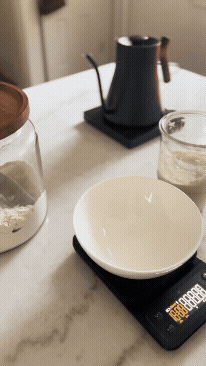
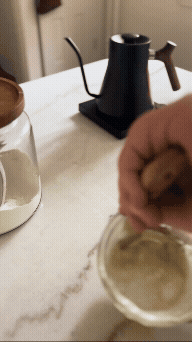
Right after feeding
Looking for thick pancake consistency when feeding.


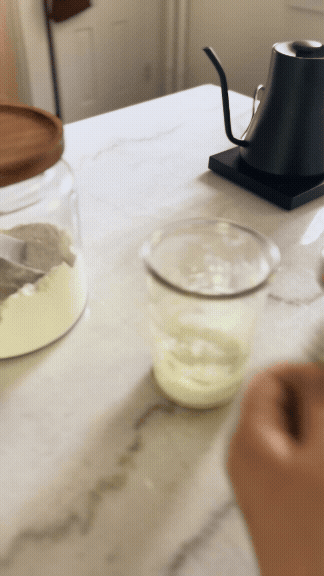
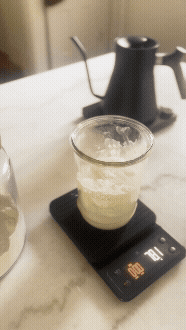
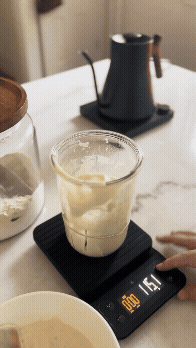
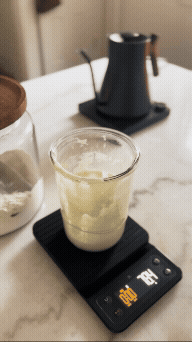
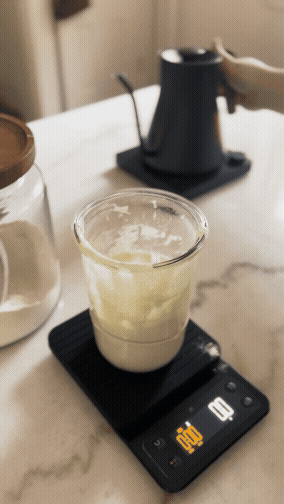
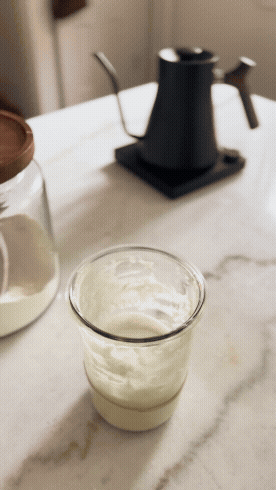
5 hours after feeding
Some volume increase as you can see based the rubber band marker.
Some signs of bubbles at the surface.


Day 3: Keep it going
Discard about half the starter (around 75g, doesn’t have to be exact)
Add:
75g flour
75g water (~80°F)
Stir until the flour, water, and starter is completely combined. Remember to scrape off the edges as best you can so you can see where the starter volume is at. This will help you be able to track it’s growth progress.
Cover
Let sit 24 hours again!


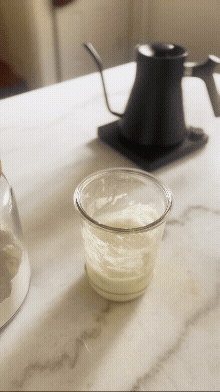
Day 4 and beyond: Watch it grow
Repeat Day 3’s steps every 24 hours
Continue until your starter is:
Bubbly
Has a slightly tangy smell
Doubles in size in 6–8 hours
Once it reaches this point, your starter is active and ready to bake!


Ongoing Maintainance
Maintain 25g starter by feeding:
50g flour
50g water
This keeps a neat 1:2:2 ratio and gives you 100g of starter—just right for most recipes, with no waste!

I want to note that in these photos and videos, I’m rehydrating an organic bread flour sourdough starter. Other starters/flours will look and act slightly different, but the same method applies to all.
Heads up! A few links are affiliate links, which means I earn a tiny commission if you shop through them.
No extra cost to you, just a way to keep the lights on and my sourdough happy.
Rehydrating
Starter
FAQs
-
A mixture of flour and water that captures wild yeast and bacteria from the environment to naturally leaven bread.
-
Make sure it matches the type of starter you received:
Organic starter: King Arthur Organic Bread Flour
Whole wheat starter: King Arthur or freshly milled whole wheat flour
Einkorn starter: Jovial organic einkorn flour
Gluten-free starter: King Arthur GF Bread Flour
-
That's the great part about dehydrated starter vs. starting one from scratch– dehydrated, once already established starter gives you a big jump start in your timeline. Although everyone's experience is different and there are many different factors in play, getting a fully bubbly, active starter that's ready to use for a loaf should take you about 4-8 days.
-
Only if it’s free from chlorine or chloramine. Filtered or spring water is best.
-
It could be too cold, underfed, or using bleached flour or chlorinated water.
-
Tangy, yeasty, slightly fruity or vinegary—but never rotten, moldy, or foul.
-
It should double in size within 6-8 hours of feeding, smell pleasantly sour, and pass the “float test” (a small spoonful floats in water).
-
Well, you 100% WILL. Hopefully, I can pass along more or my experience and tips with you through my website, Instagram, Facebook, and instruction sheets I sell. I’ve started a Facebook community for people to ask and answer questions, as well as share their journey and experiences baking sourdough! Join HERE