
A Guide to The Classic Artisan Sourdough Loaf
There’s something magical about baking your own bread, and I’m here to guide you through every step of making the perfect artisan loaf.
Whether you’re a beginner or have baked a few loaves before, this guide will help you craft a loaf with a golden crust, airy crumb, and that irresistible, homemade feel. I’ll walk you through the entire process, from mixing your dough to shaping and scoring it just like a pro. So, grab your apron and let’s create something special together—because there’s nothing like the smell of fresh, homemade bread filling your home.

What You’ll Need
-
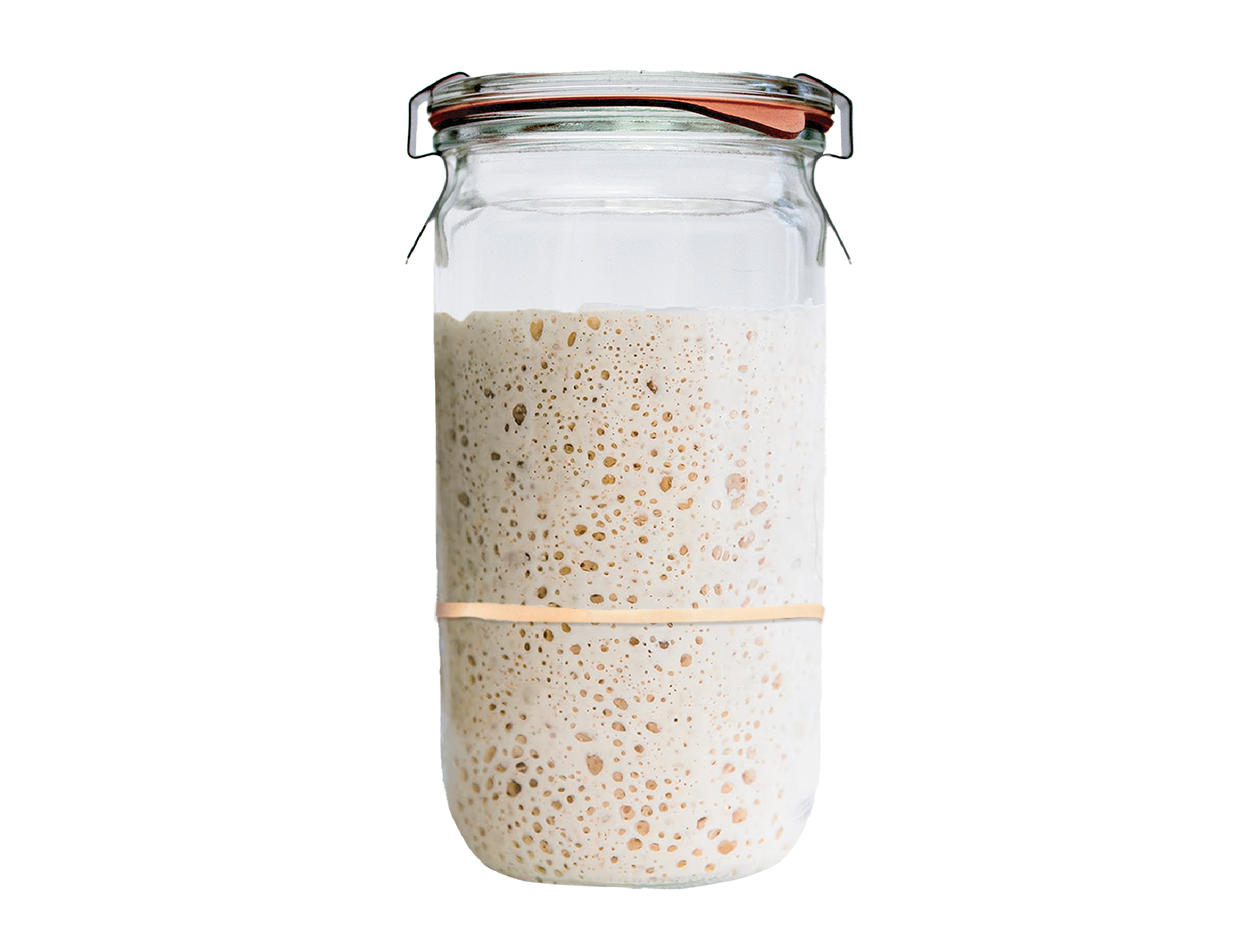
![Clear glass tumbler with an embossed strawberry logo and the word WEECK.]()
Active Sourdough Starter
-
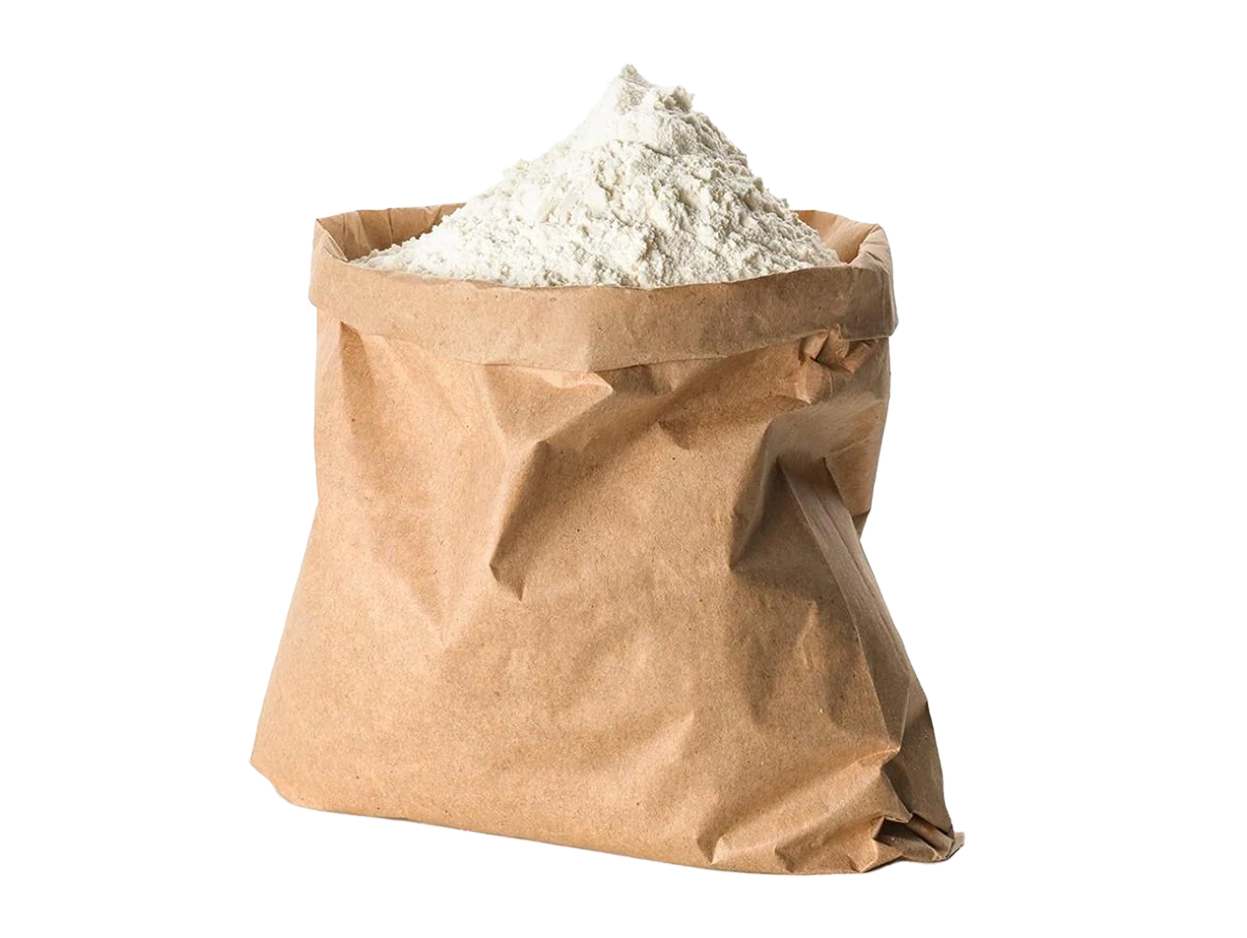
![Paper bag filled with white flour.]()
Flour
-
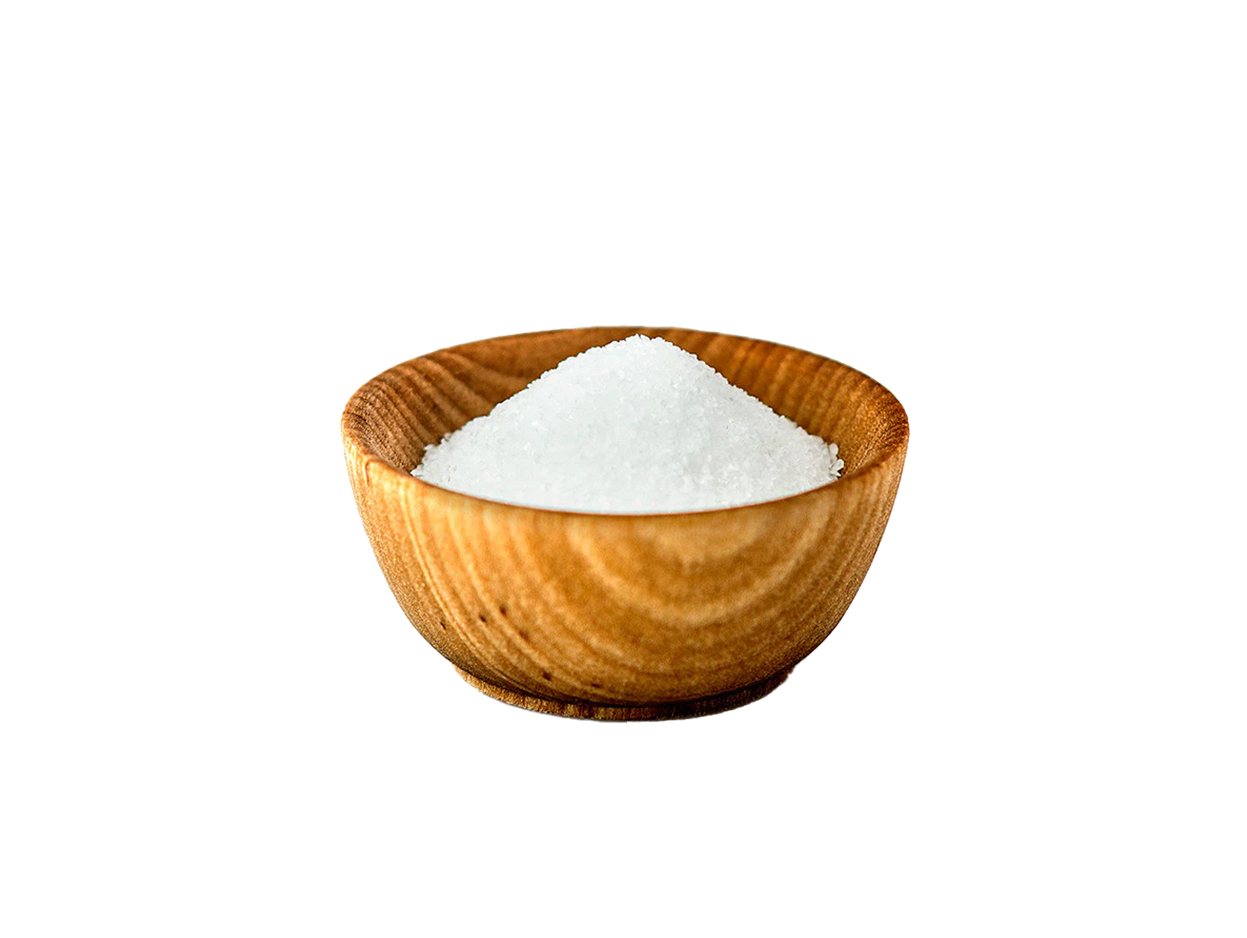
![Wooden bowl filled with white granulated salt on a white background.]()
Fine, Non-Iodized Salt
-
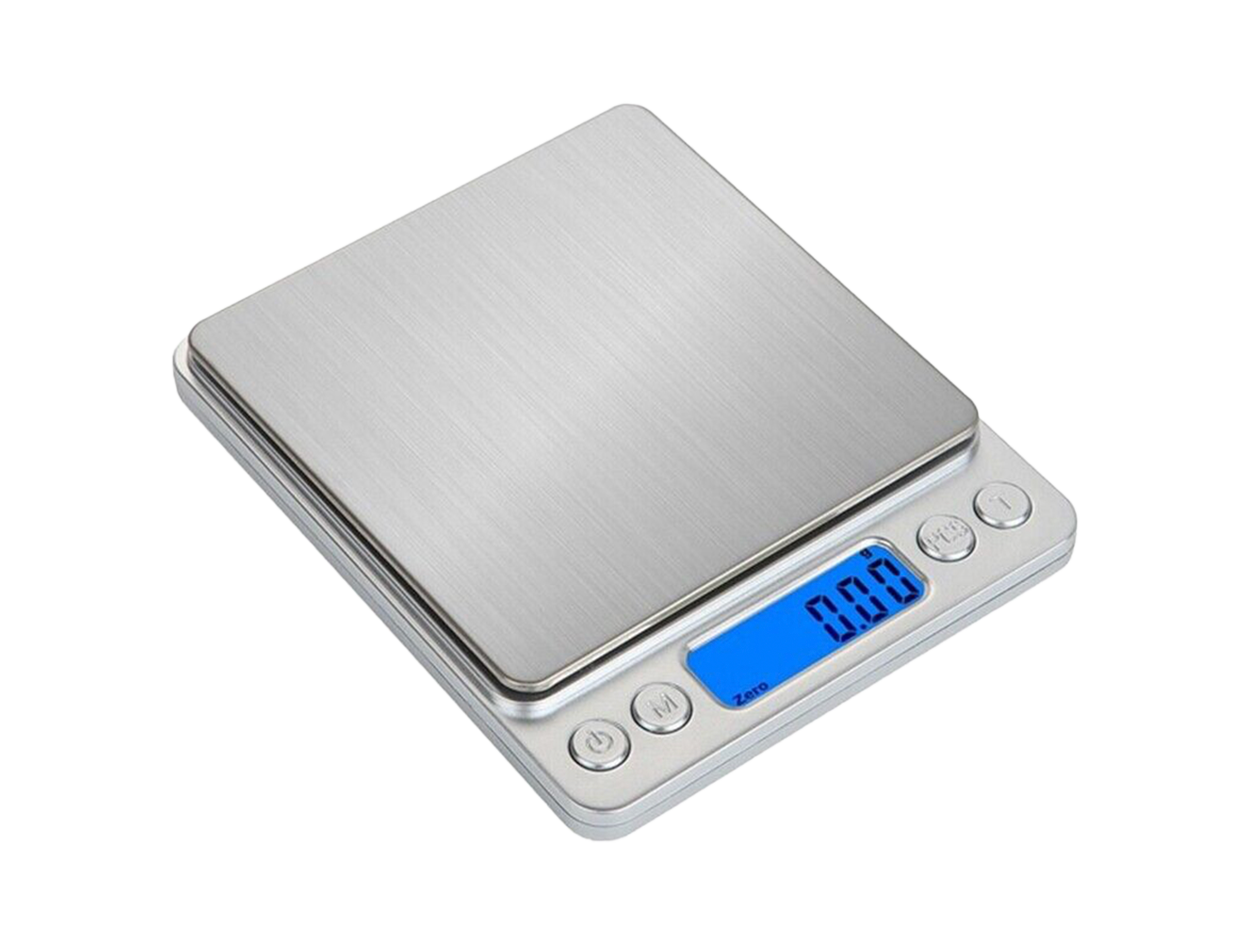
![Digital kitchen scale displaying zero on its blue backlit screen.]()
Baking Scale
-
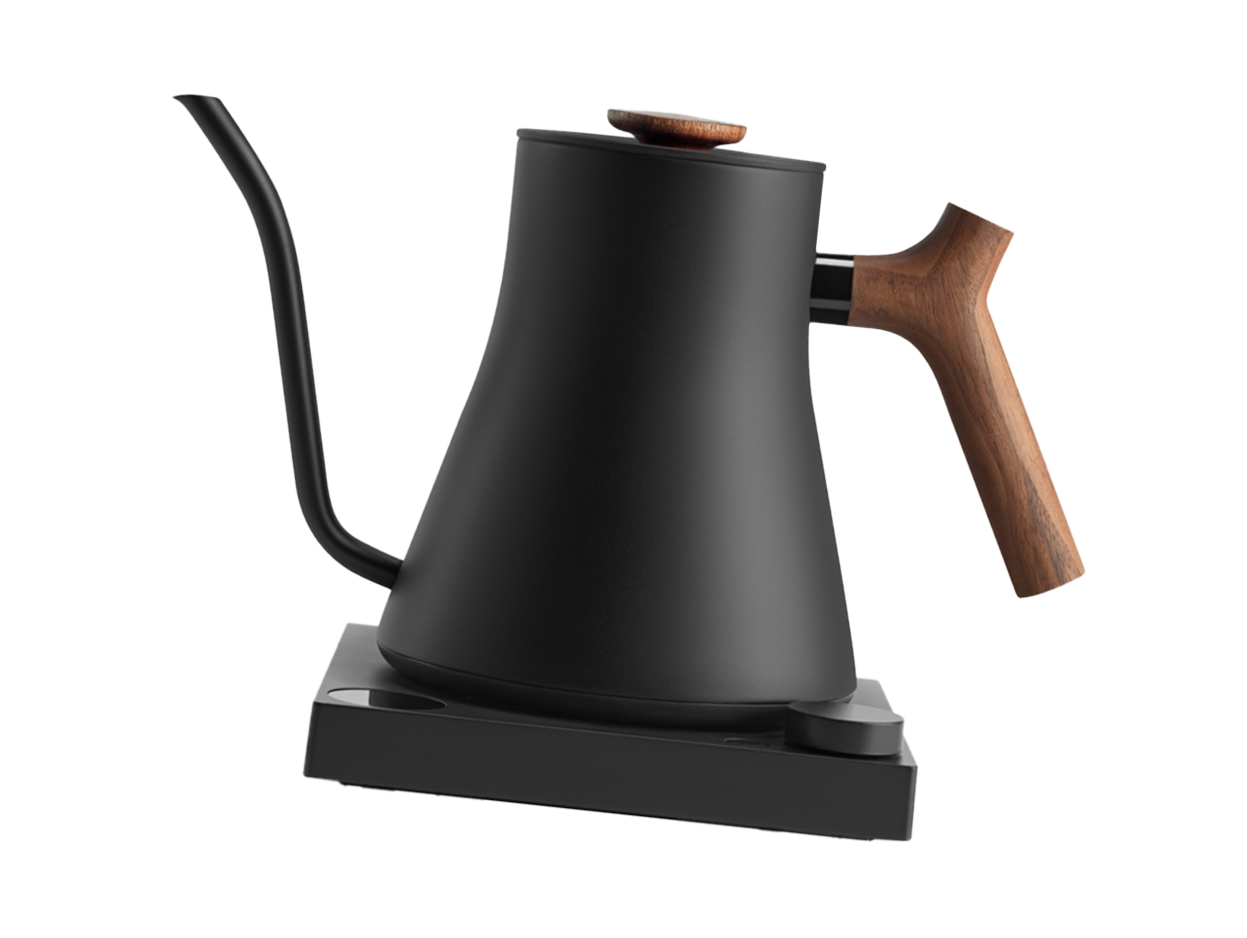
![Black electric kettle with a wooden handle and lid on a black base.]()
Kettle
-
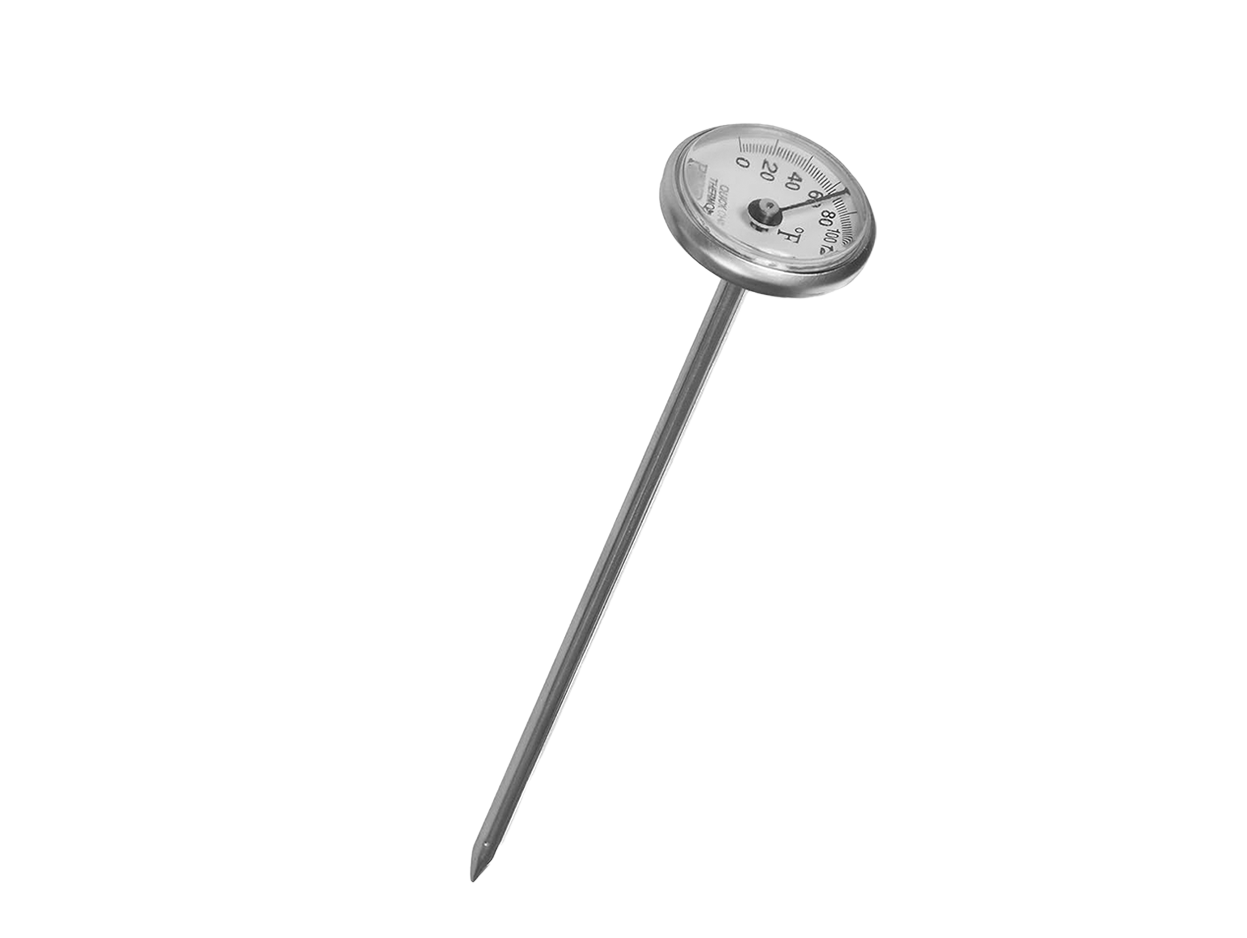
![Thermometer with a metallic shaft and a round dial showing temperature in Fahrenheit and Celsius.]()
Kitchen Thermometer
-
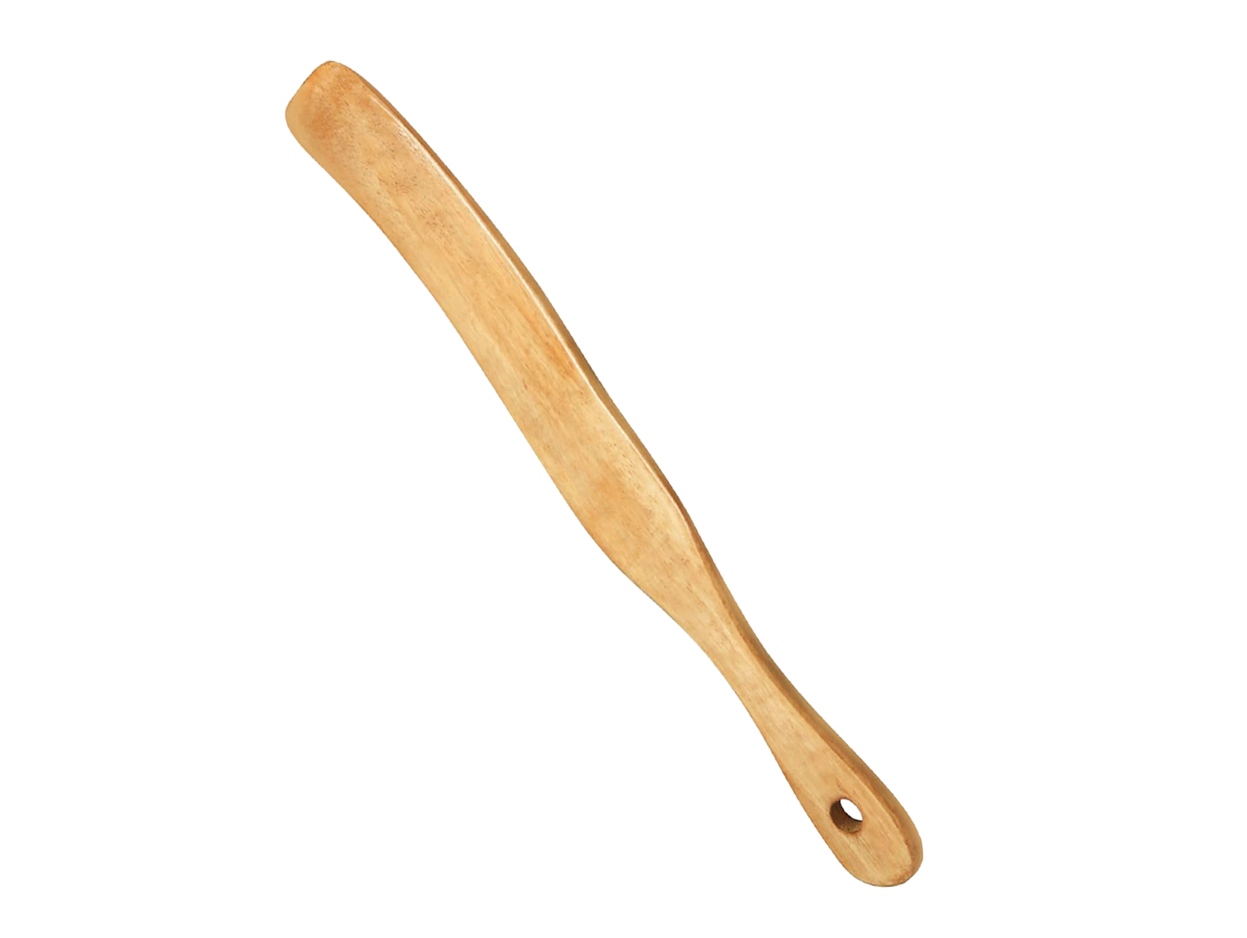
![Wooden spatula]()
Spatula/Spurtle
-
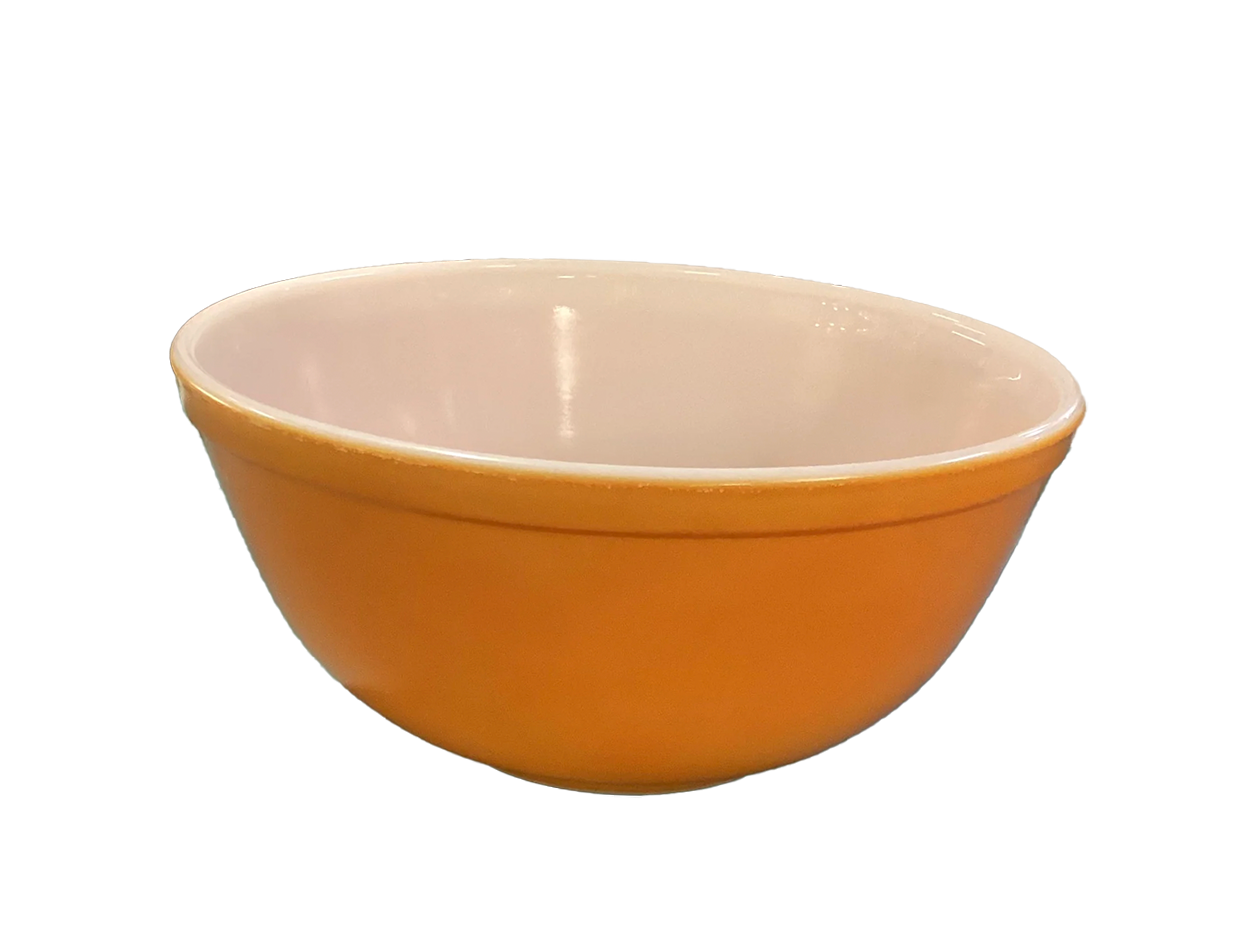
![Orange ceramic bowl with a white interior.]()
Mixing Bowl
-
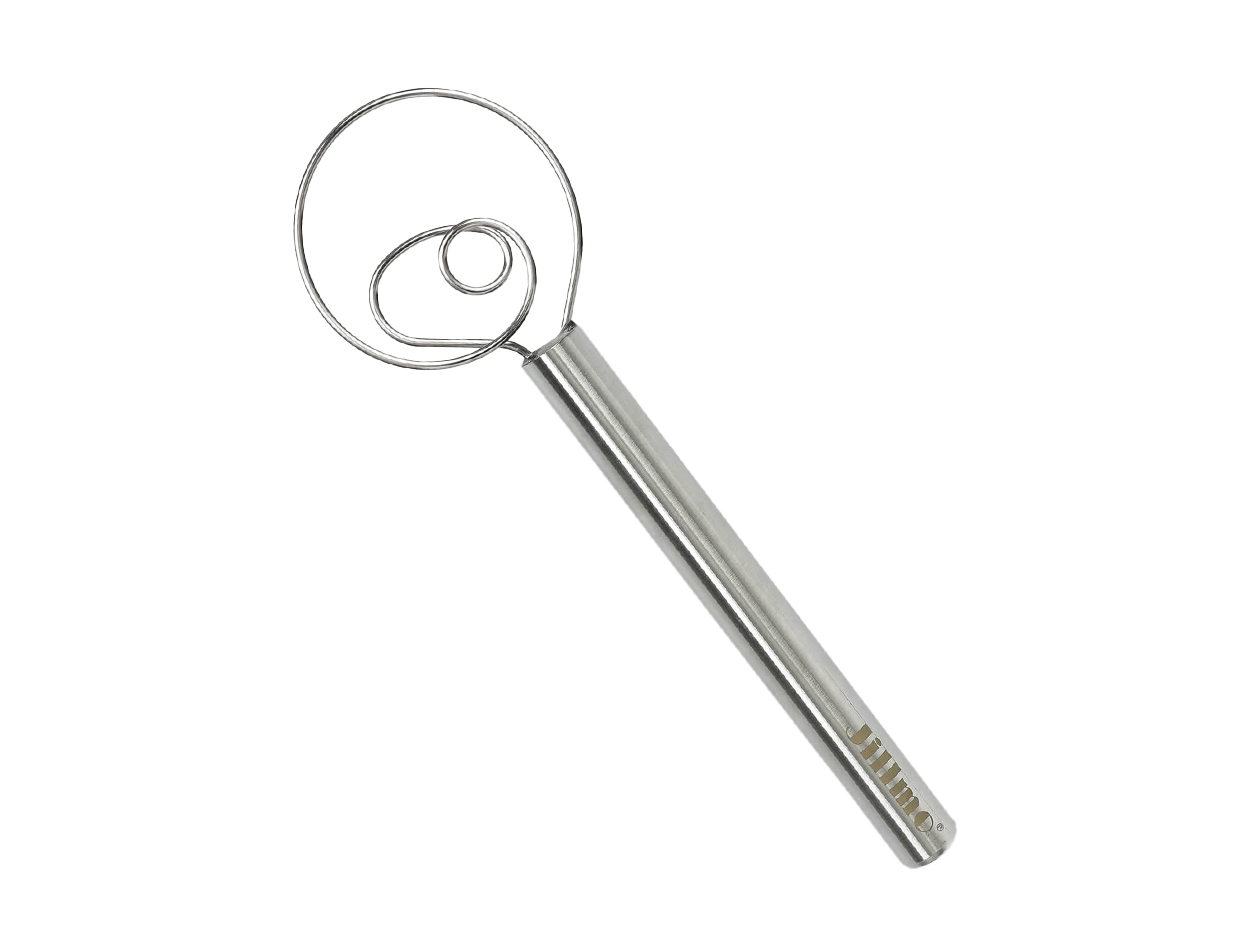
![Stainless steel egg beater with a handle and circular wire whisk attachment.]()
Danish Whisk (my fav!)
-
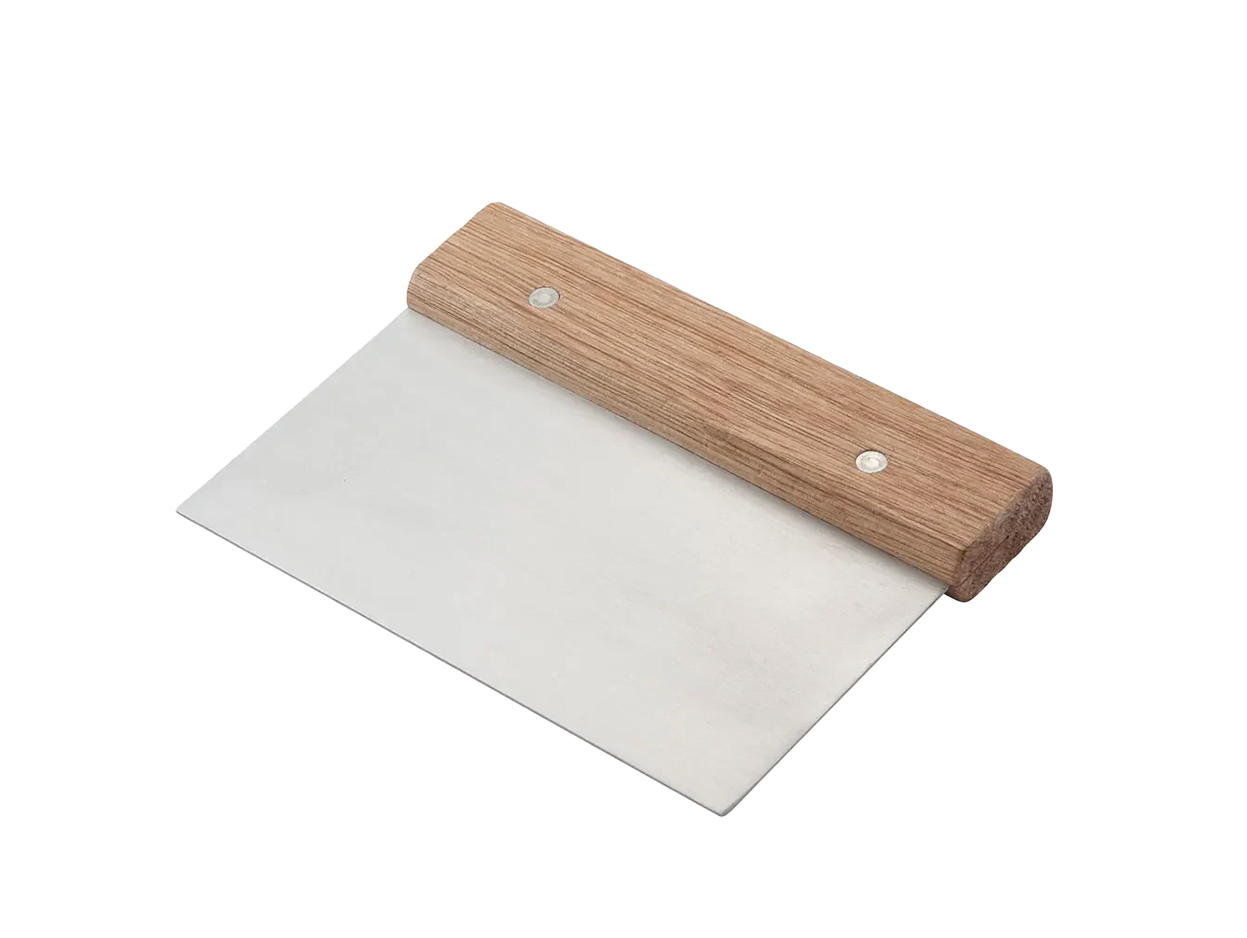
![A putty knife with a wooden handle and a metal blade.]()
Bench Scraper (optional, but nice)
-
![Wooden bowl with soft fabric lining]()
Proofing Basket (or tea towel-lined bowl)
-
![A razorsaw with a black handle and a silver blade next to a Japanese-style hand saw with a silver, serrated blade and a black handle.]()
Bread Scorer or Serrated Knife (Scorer is ideal)
-
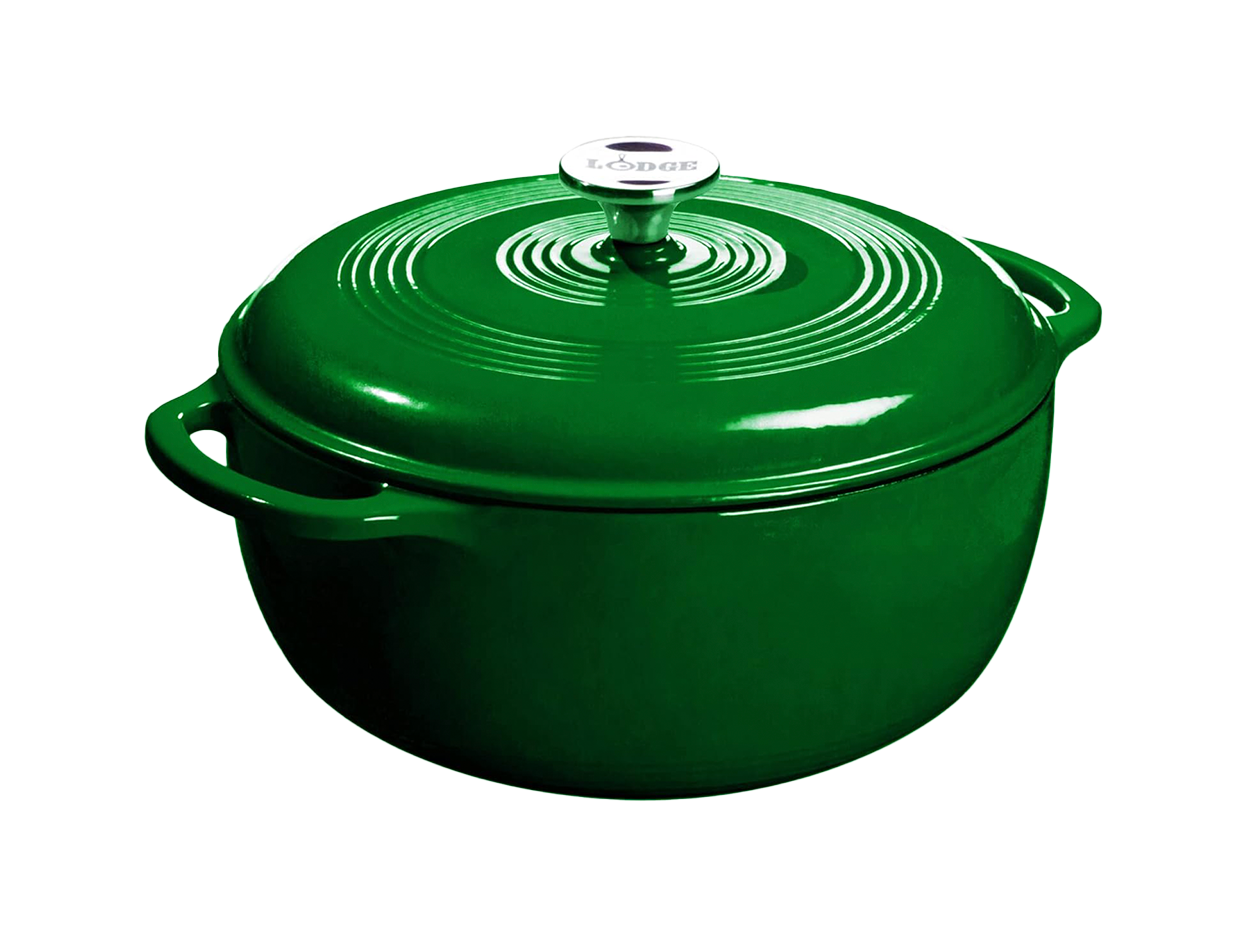
![A bright green cast iron Dutch oven with a lid that has a handle on top, and the lid has a label that reads 'Lodge'.]()
Dutch Oven


Artisan
Loaf
FAQs
-
It should double in size within 6-8 hours of feeding, smell pleasantly sour, and pass the “float test” (a small spoonful floats in water and it should all float to the top).
-
Only if it’s free from chlorine or chloramine. Filtered or spring water is best.
-
Make sure it matches the type of starter you received:
Organic starter: King Arthur Organic Bread Flour
Whole wheat starter: King Arthur or freshly milled whole wheat flour
Einkorn starter: Jovial organic einkorn flour
Gluten-free starter: King Arthur GF Bread Flour
-
Well, you 100% WILL. Hopefully, I can pass along more or my experience and tips with you through my website, Instagram, Facebook, and instruction sheets I sell. I’ve started a Facebook community for people to ask and answer questions, as well as share their journey and experiences baking sourdough! Join HERE