
A Guide to Maintaining Your Hydrated Sourdough Starter
Forget the myth that sourdough is hard work. With this guide, it’s simple, stress-free, and fits into your routine.
After successfully rehydrating your sourdough starter, you’ll want to keep it healthy with regular feedings!

What You’ll Need
-
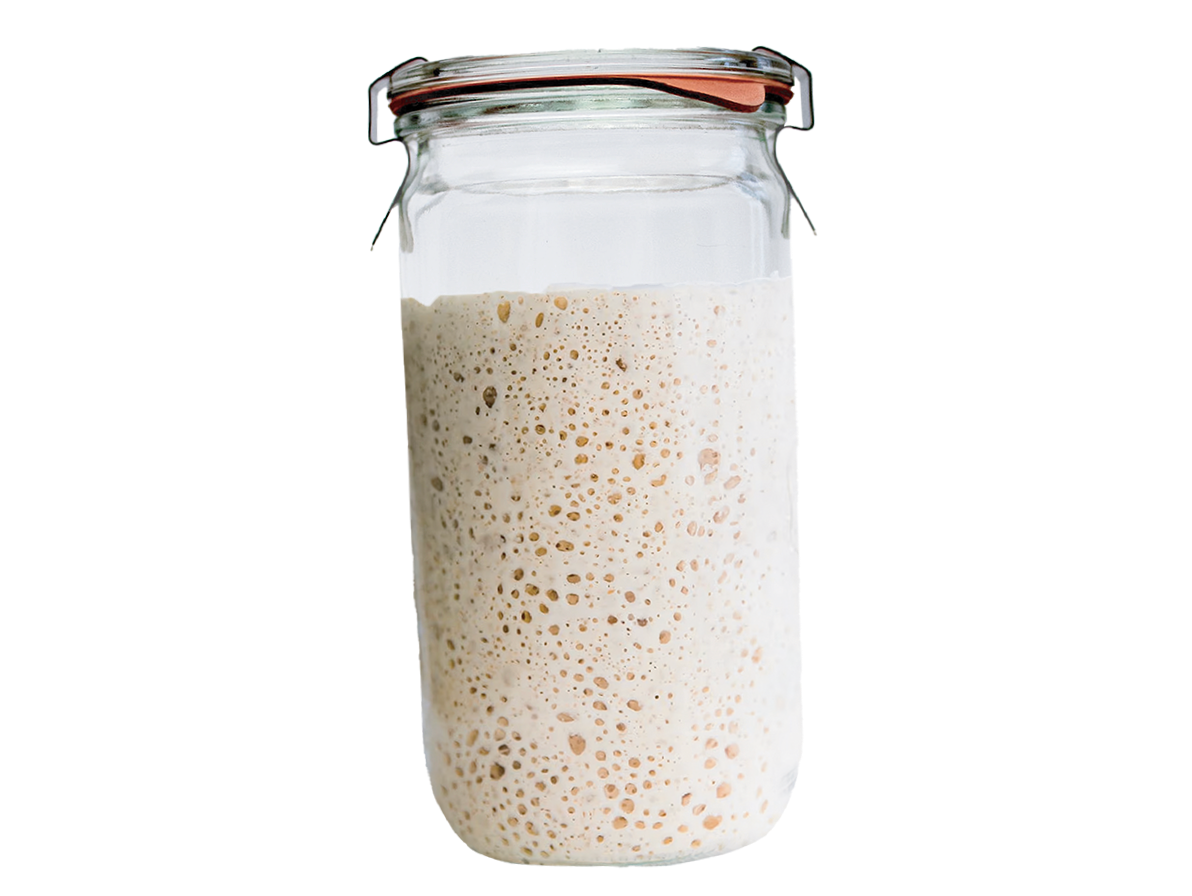
![A glass jar filled with sourdough starter, showing a bubbly, slightly frothy, and creamy liquid with many small holes.]()
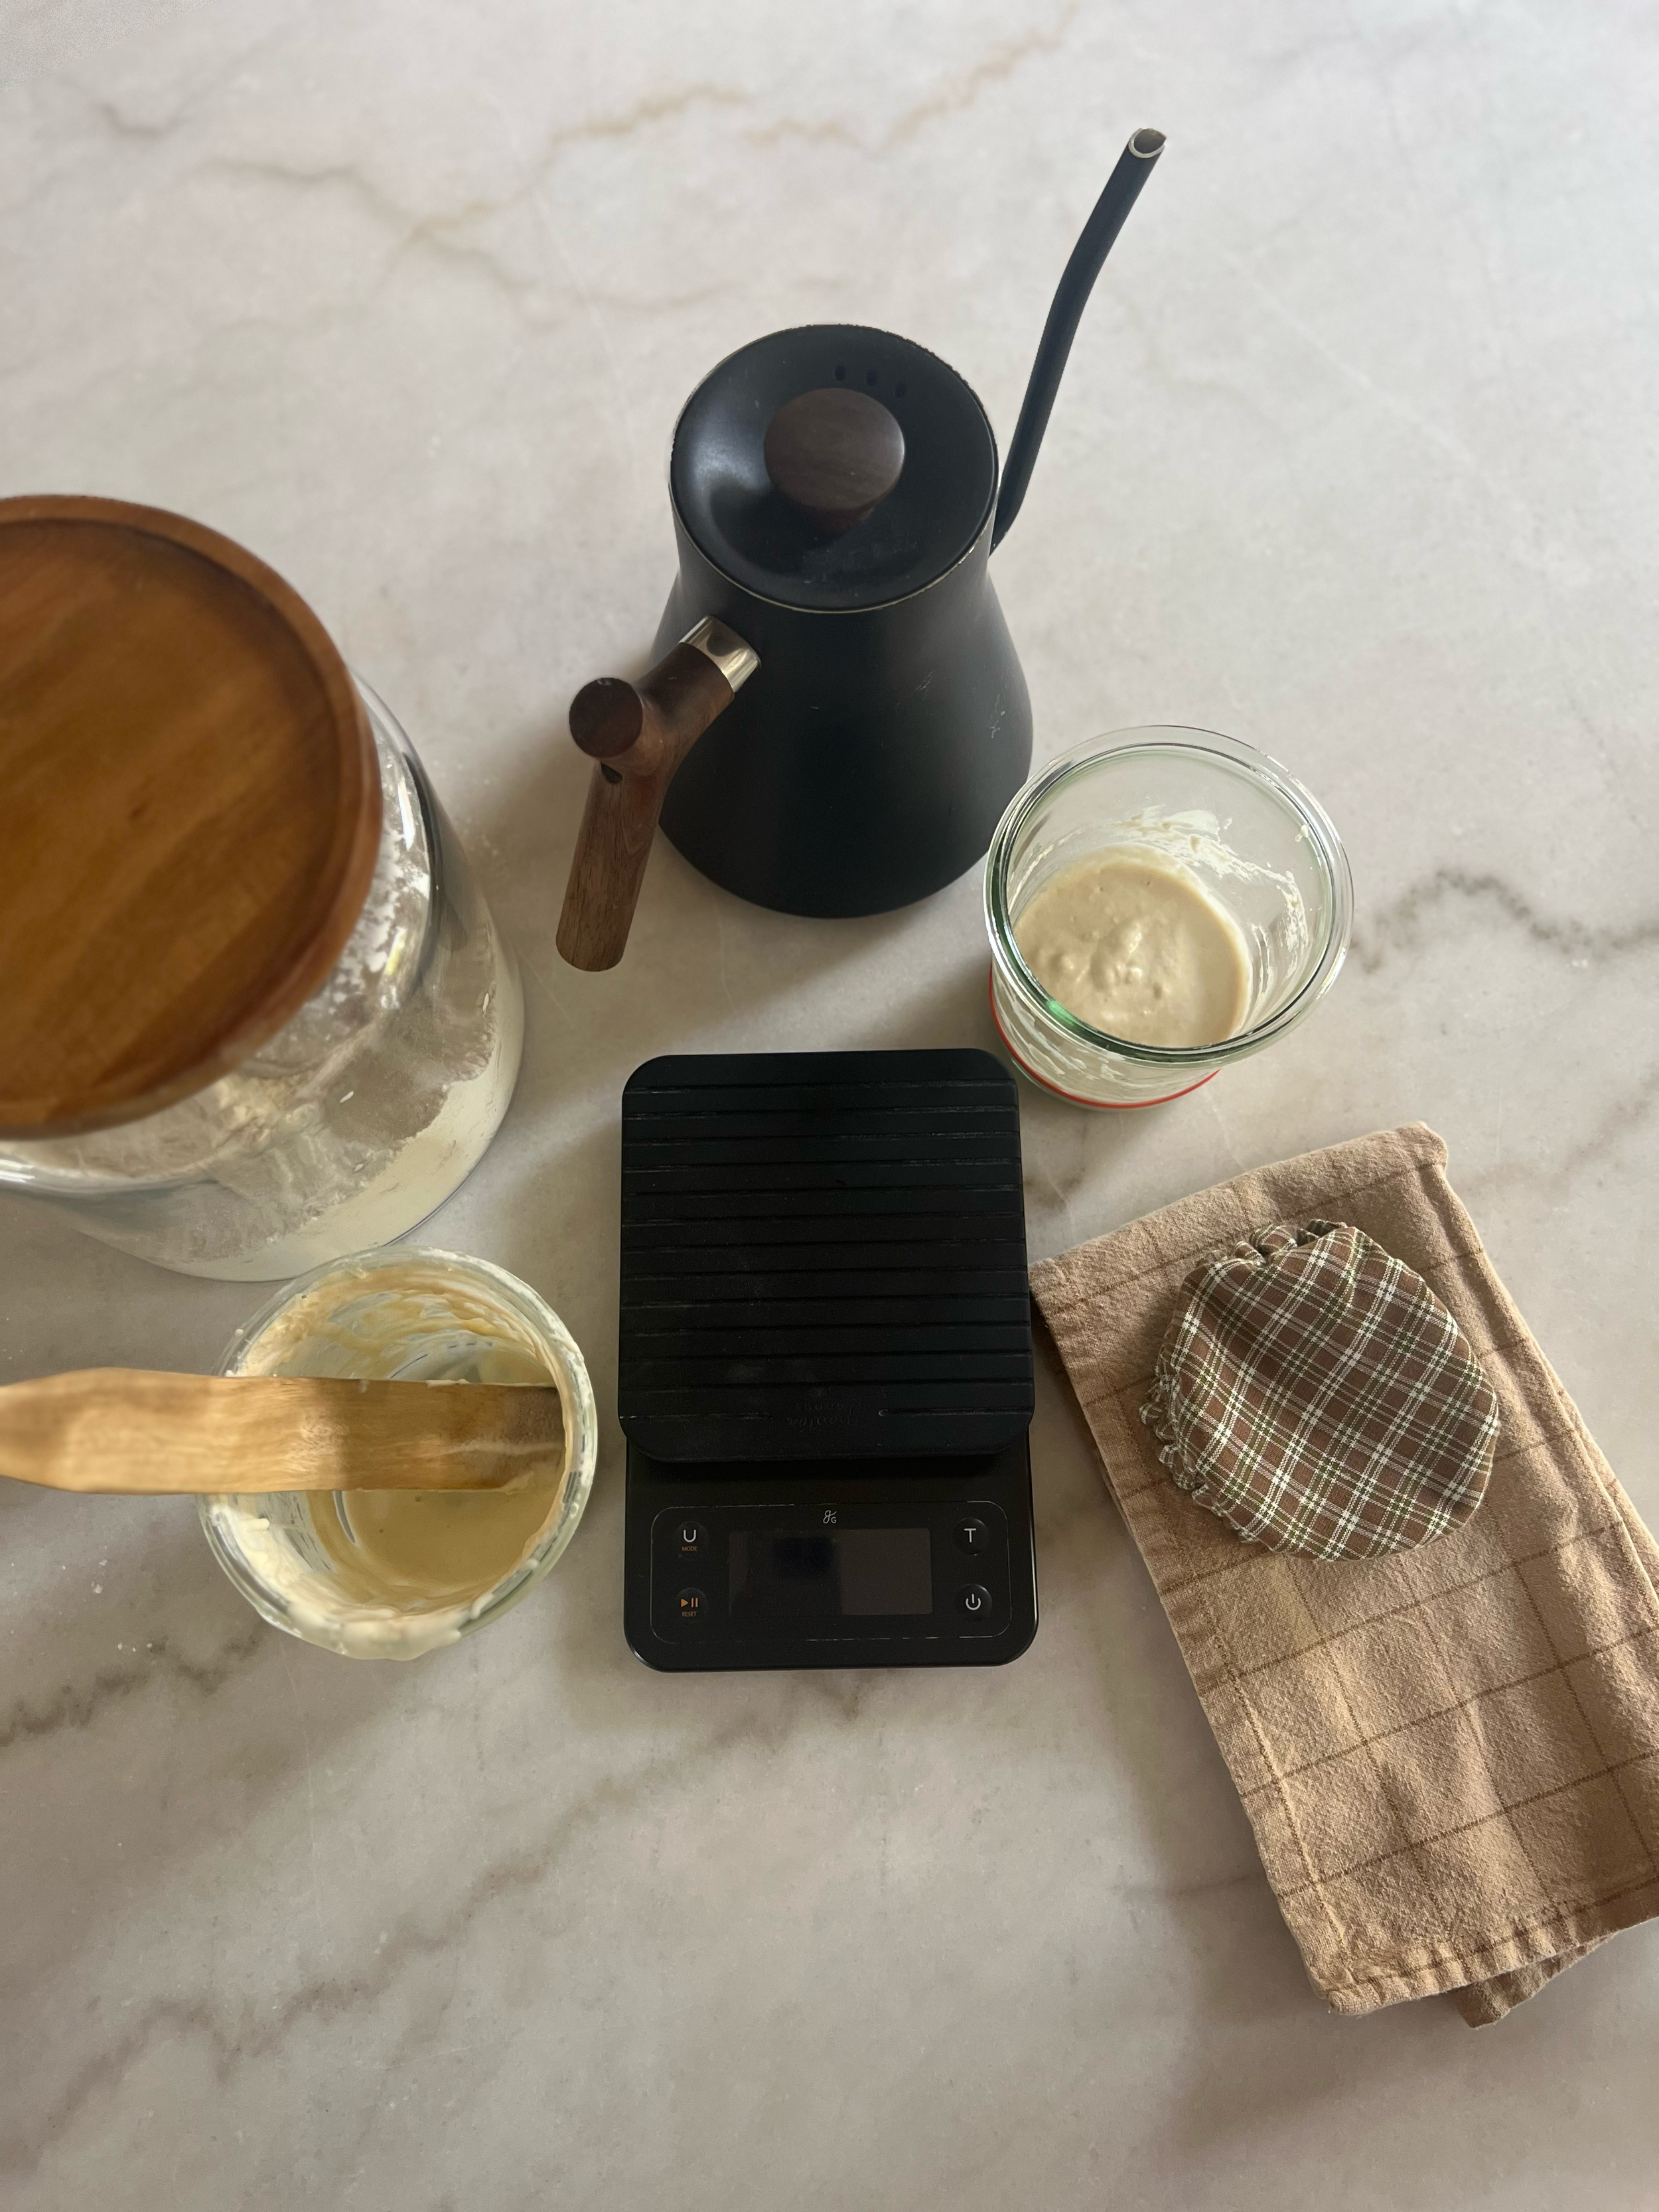
Active Sourdough Starter
-
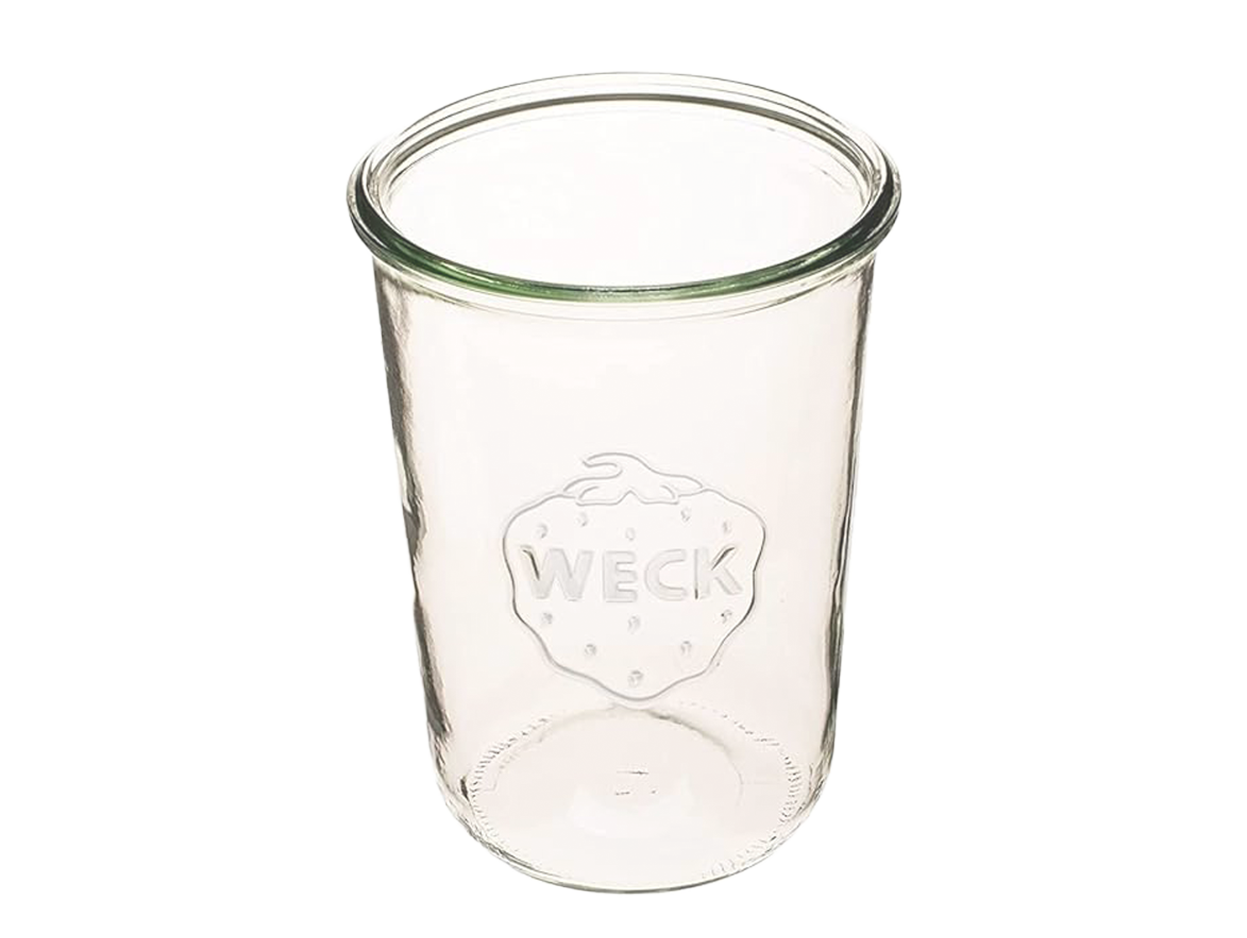
![Empty glass jar with a strawberry design and the words "WECK" embossed on it.]()
Glass jar
-
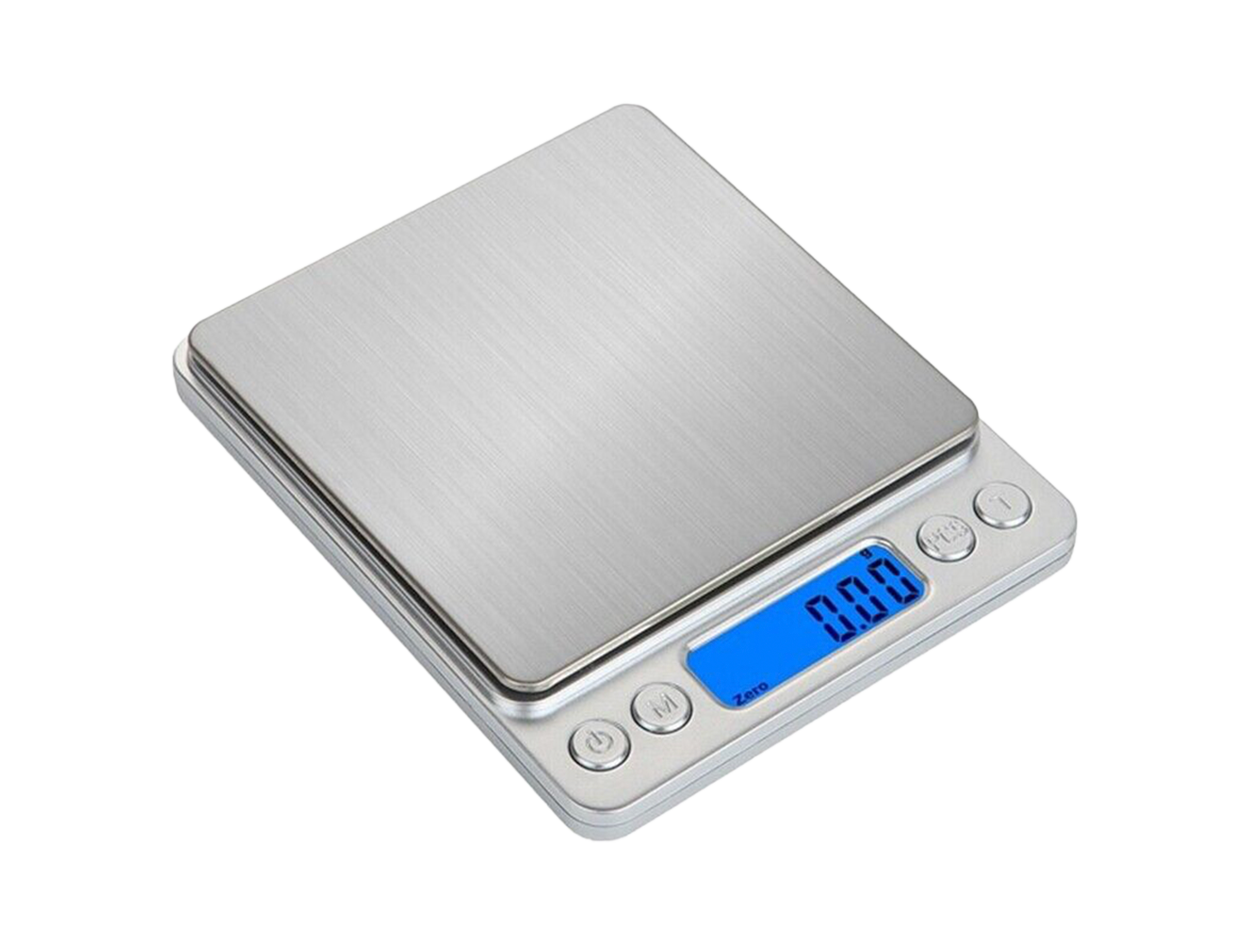
![Silver digital kitchen scale displaying 0.00 pounds.]()
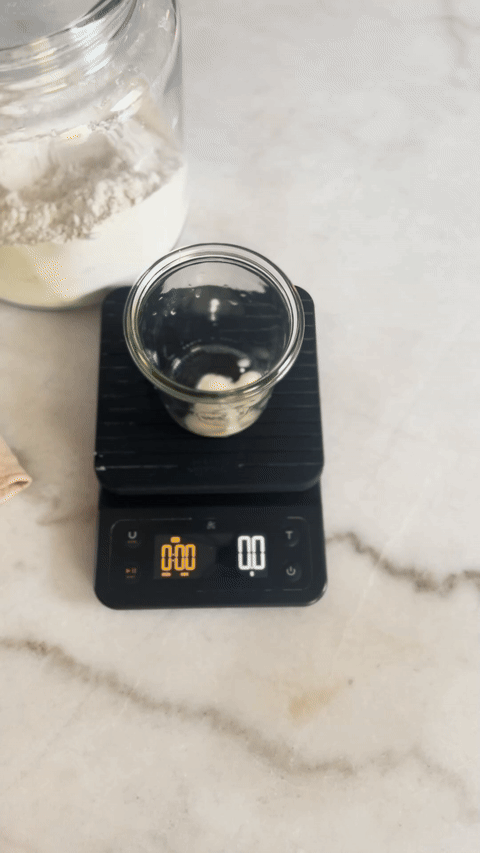
Baking Scale
-
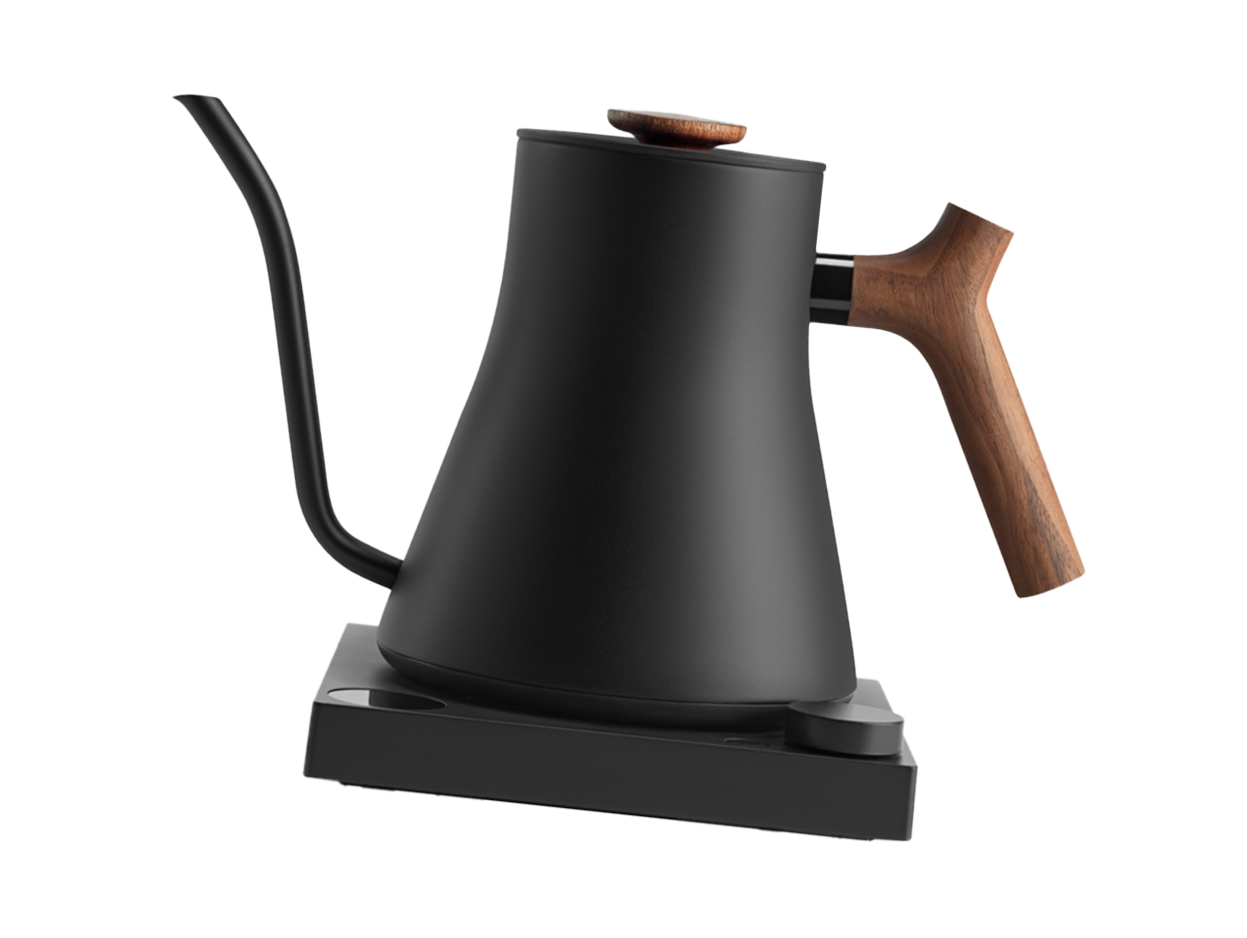
![Black electric kettle with a wooden handle and a matching wooden lid, placed on a black base.]()
Kettle
-
![A metal outdoor cooking thermometer with a round dial face showing temperature in Fahrenheit.]()
Kitchen Thermometer
-
![Wooden spatula with a hole in the handle]()
Spatula/Spurtle
-
![Three irregularly shaped, thin wooden curves intertwined against a plain white background.]()
Rubber Band
-
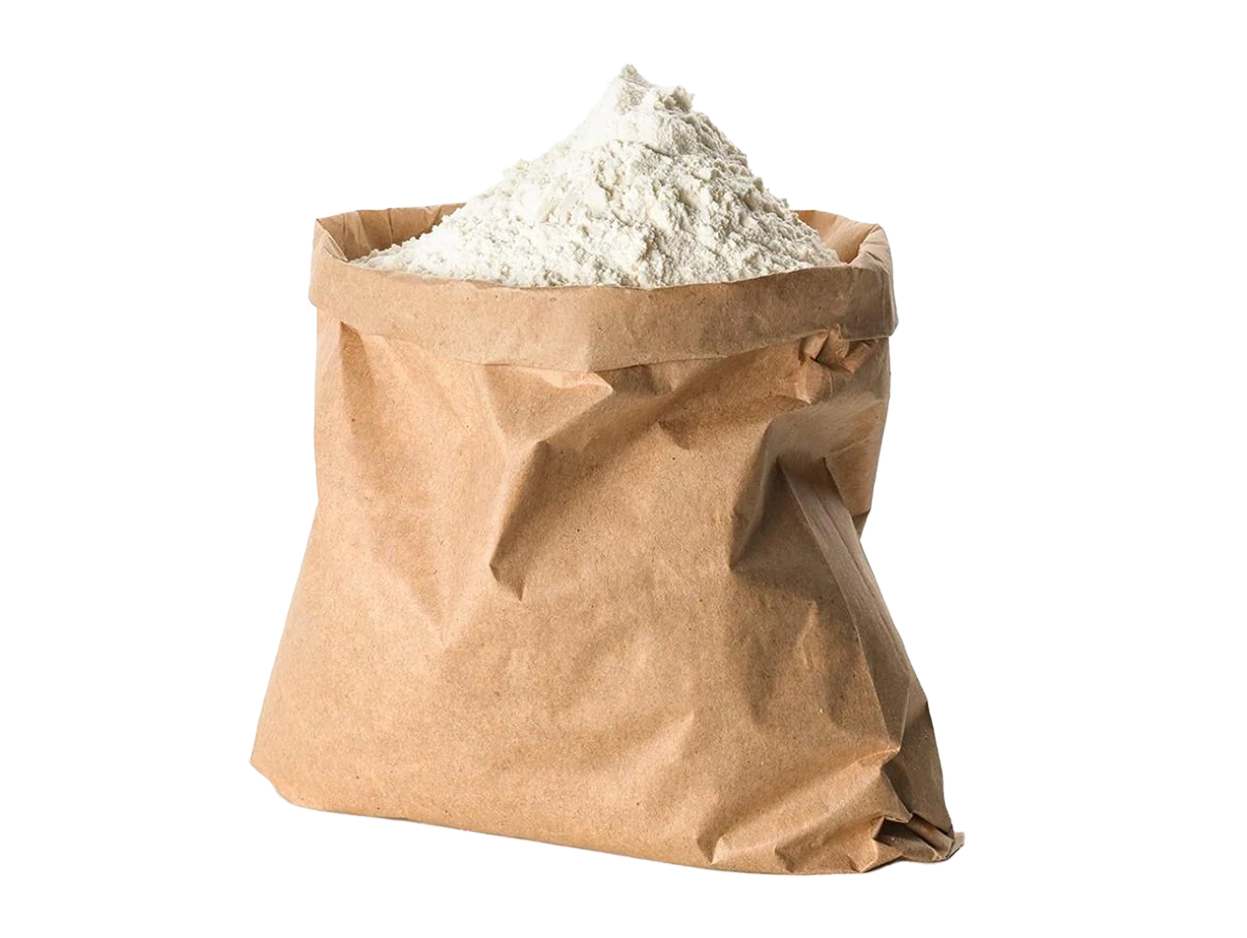
![A paper bag filled with white flour.]()
Flour
-
![Reusable jar cover with vintage yellow gingham pattern.]()
Jar Cover


You choose how often you want to feed your starter!
There’s no single “right” way to care for your starter — it depends on how often you bake and what fits your rhythm. Your starter can live happily on the counter or rest in the fridge between bakes.
If you bake often (every few days):
Keep your starter on the counter and feed it every 24–72 hours. This keeps it bubbly, active, and ready whenever you feel inspired to bake.
Tip: Give your starter a spot on the counter you’ll see daily — a visual reminder helps you stay consistent.
If you bake less often:
Store your starter in the refrigerator and feed it about every 1–2 weeks to keep it strong and healthy.
Tip: When you’re ready to bake, take it out a day or two before, and give it one or two room-temperature feedings to wake it up.
Remember:
Your starter’s needs change with temperature, humidity, and season. In warm weather, it’ll get hungry faster — in cooler months, it can rest longer between feedings. Watch its bubbles, rise, and smell — they’ll tell you when it’s ready for its next meal.
Tip: A starter that’s peaked (slightly domed on top) and smells sweet or mildly tangy is perfectly fed and happy.
Maintaining Your Starter
Keeping your sourdough starter healthy doesn’t have to be complicated.
Here’s how to maintain a tiny starter that’s always ready to grow when you are.
Tiny Starter Maintenance (1:3:5 ratio)
Ingredients
3g starter
15g all-purpose or bread flour
10g water
Steps
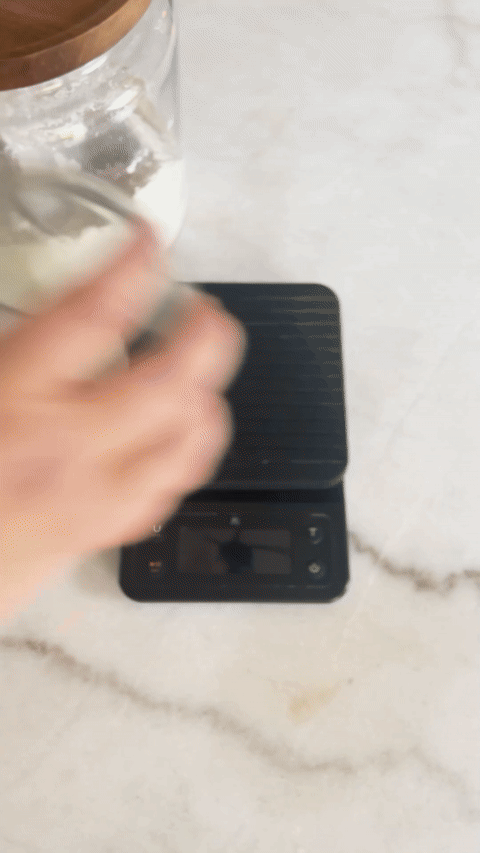
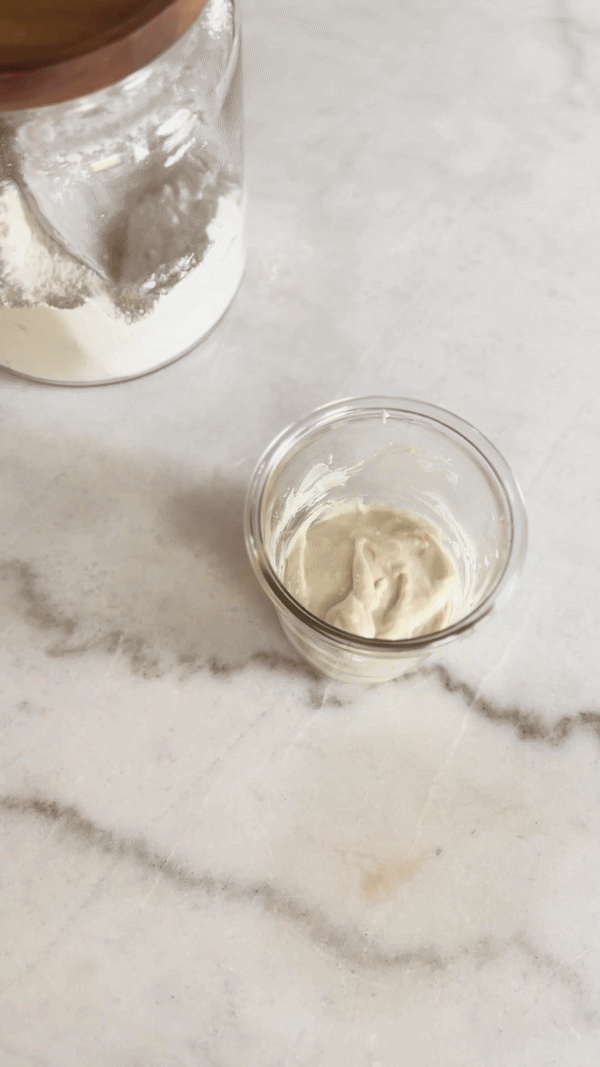
Stir starter, water, and flour together until smooth.
Cover loosely and keep at room temperature.
Feeding Schedule
If your kitchen is below 68°F, feed every 24 hours.
If it’s warmer, feed every 12 hours.
Tip: Less water slows fermentation, meaning you can go longer between feedings.
If You Don’t Want To Bake Often
After feeding, let your starter sit 1 hour at room temp, then store it in the fridge.
The night before you want to bake, take it out, let it come to room temperature, and feed it again to build up its strength.
Tiny Starter Maintenance (1:5:3)
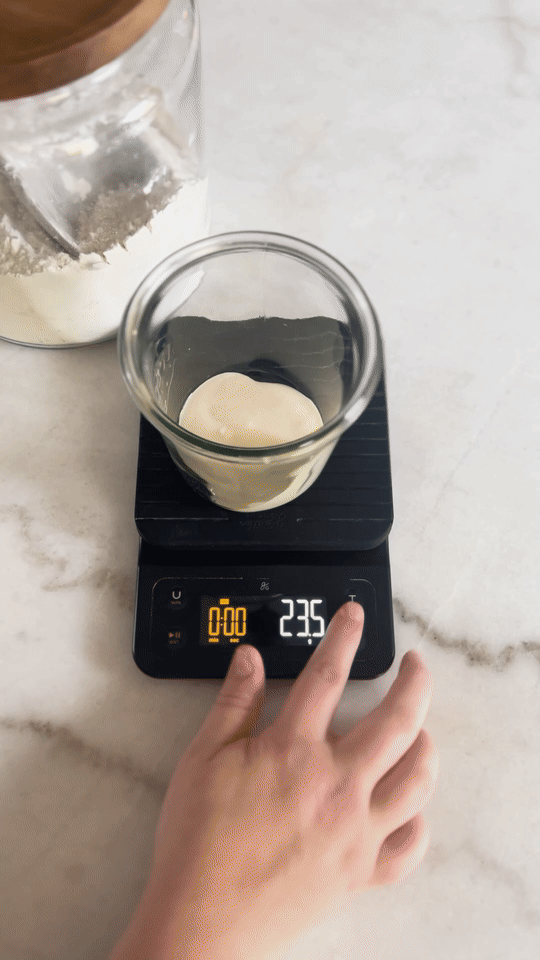
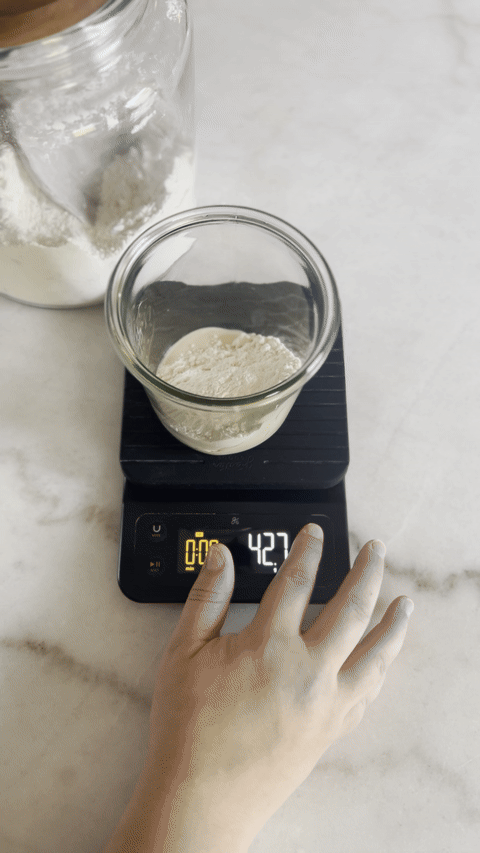
In the same jar or in a fresh jar, make sure you have ~3 grams starter
Add in 15 grams flour
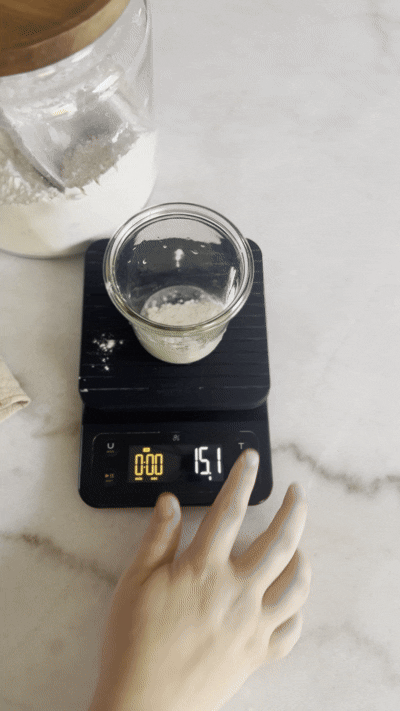
Add in the 10 grams of ~80°F water (either with a kettle that tells you the temp., or a basic kettle and thermometer)
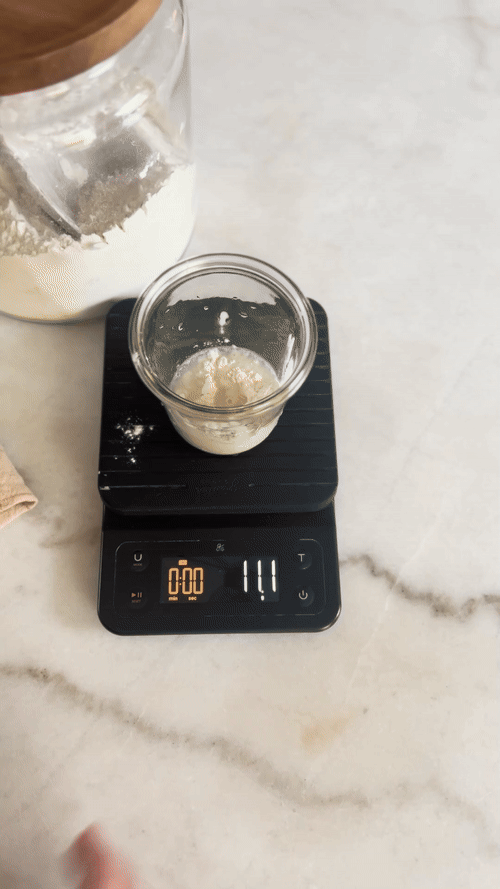
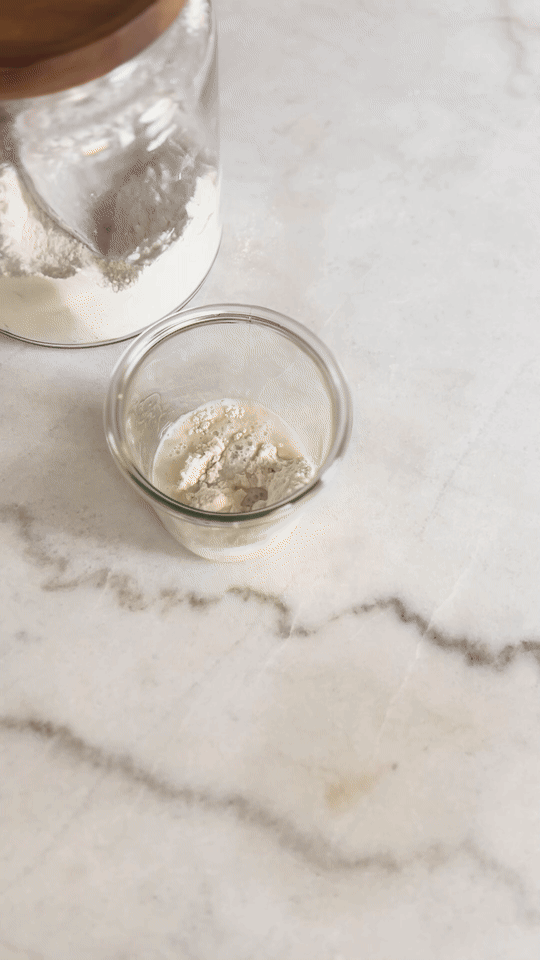
Stir vigorously until combined and there are no pockets of dry flour
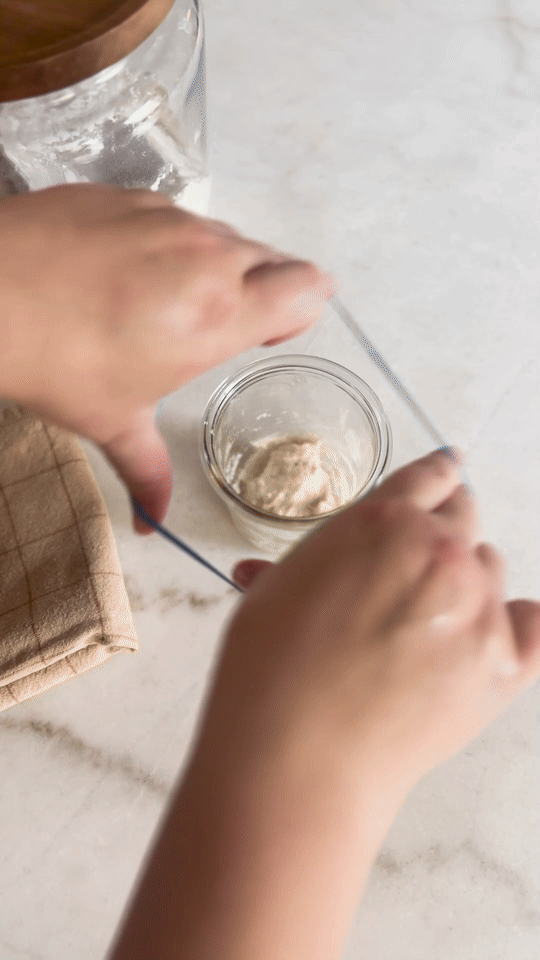

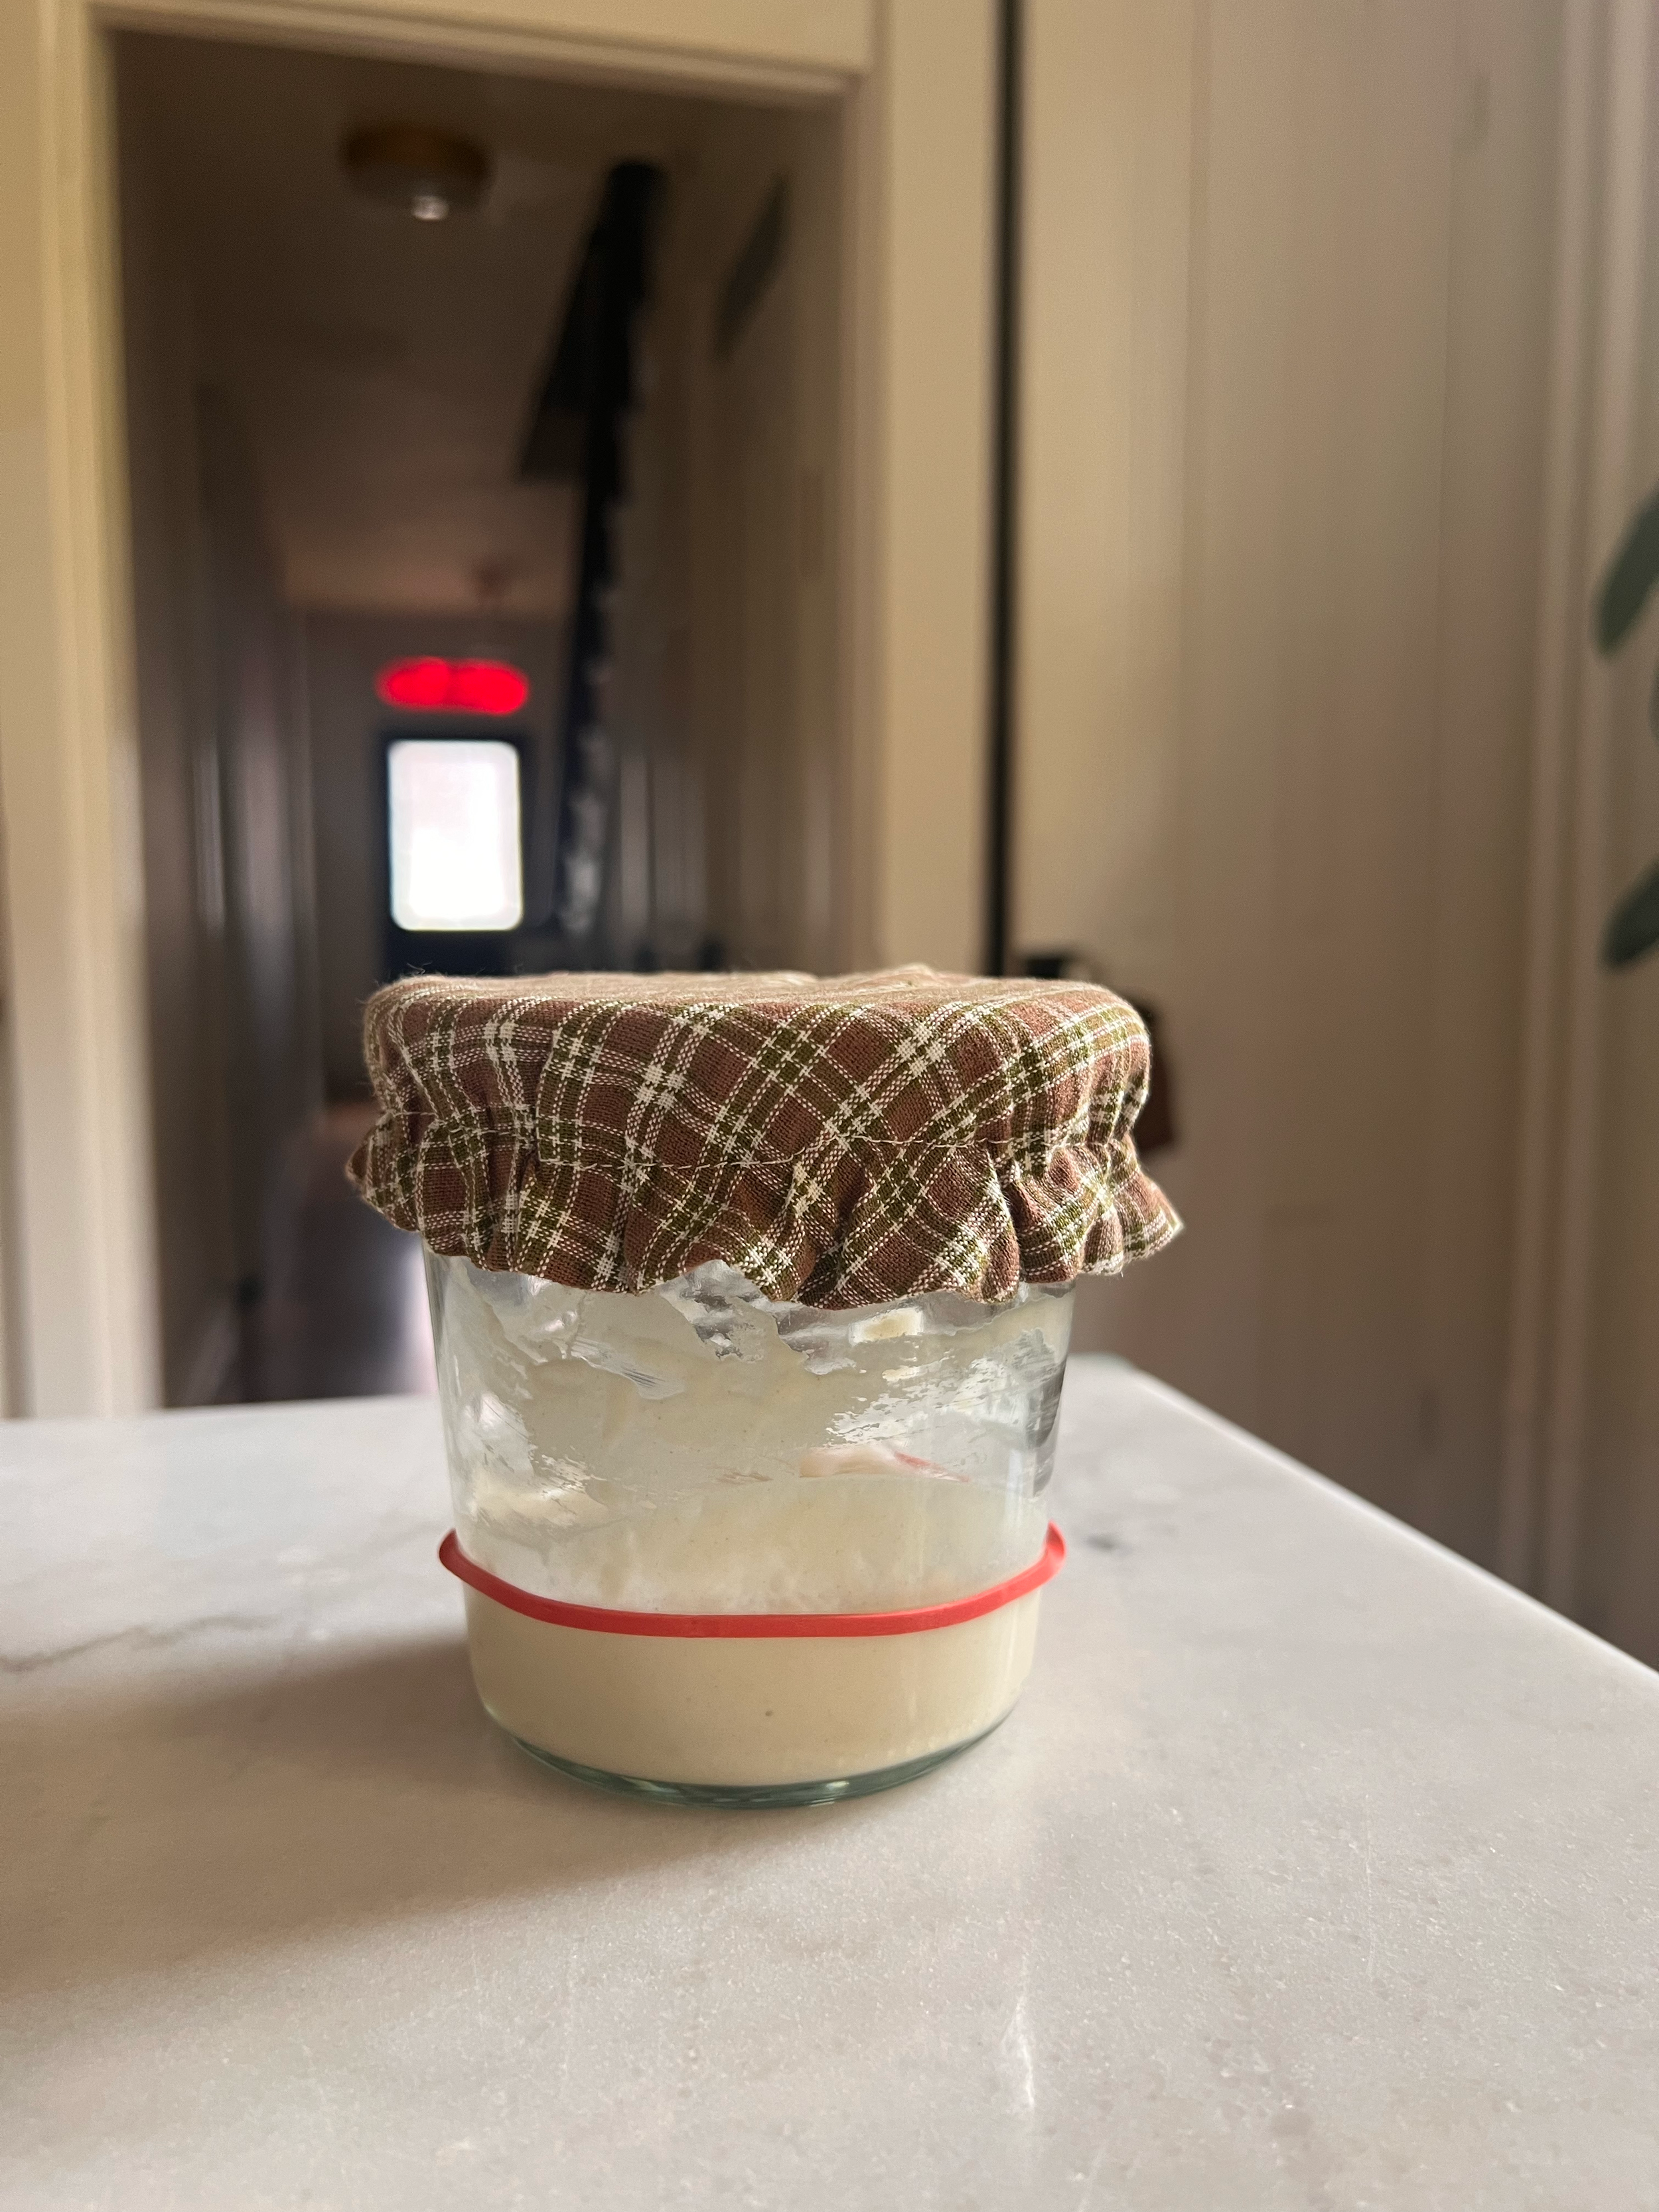
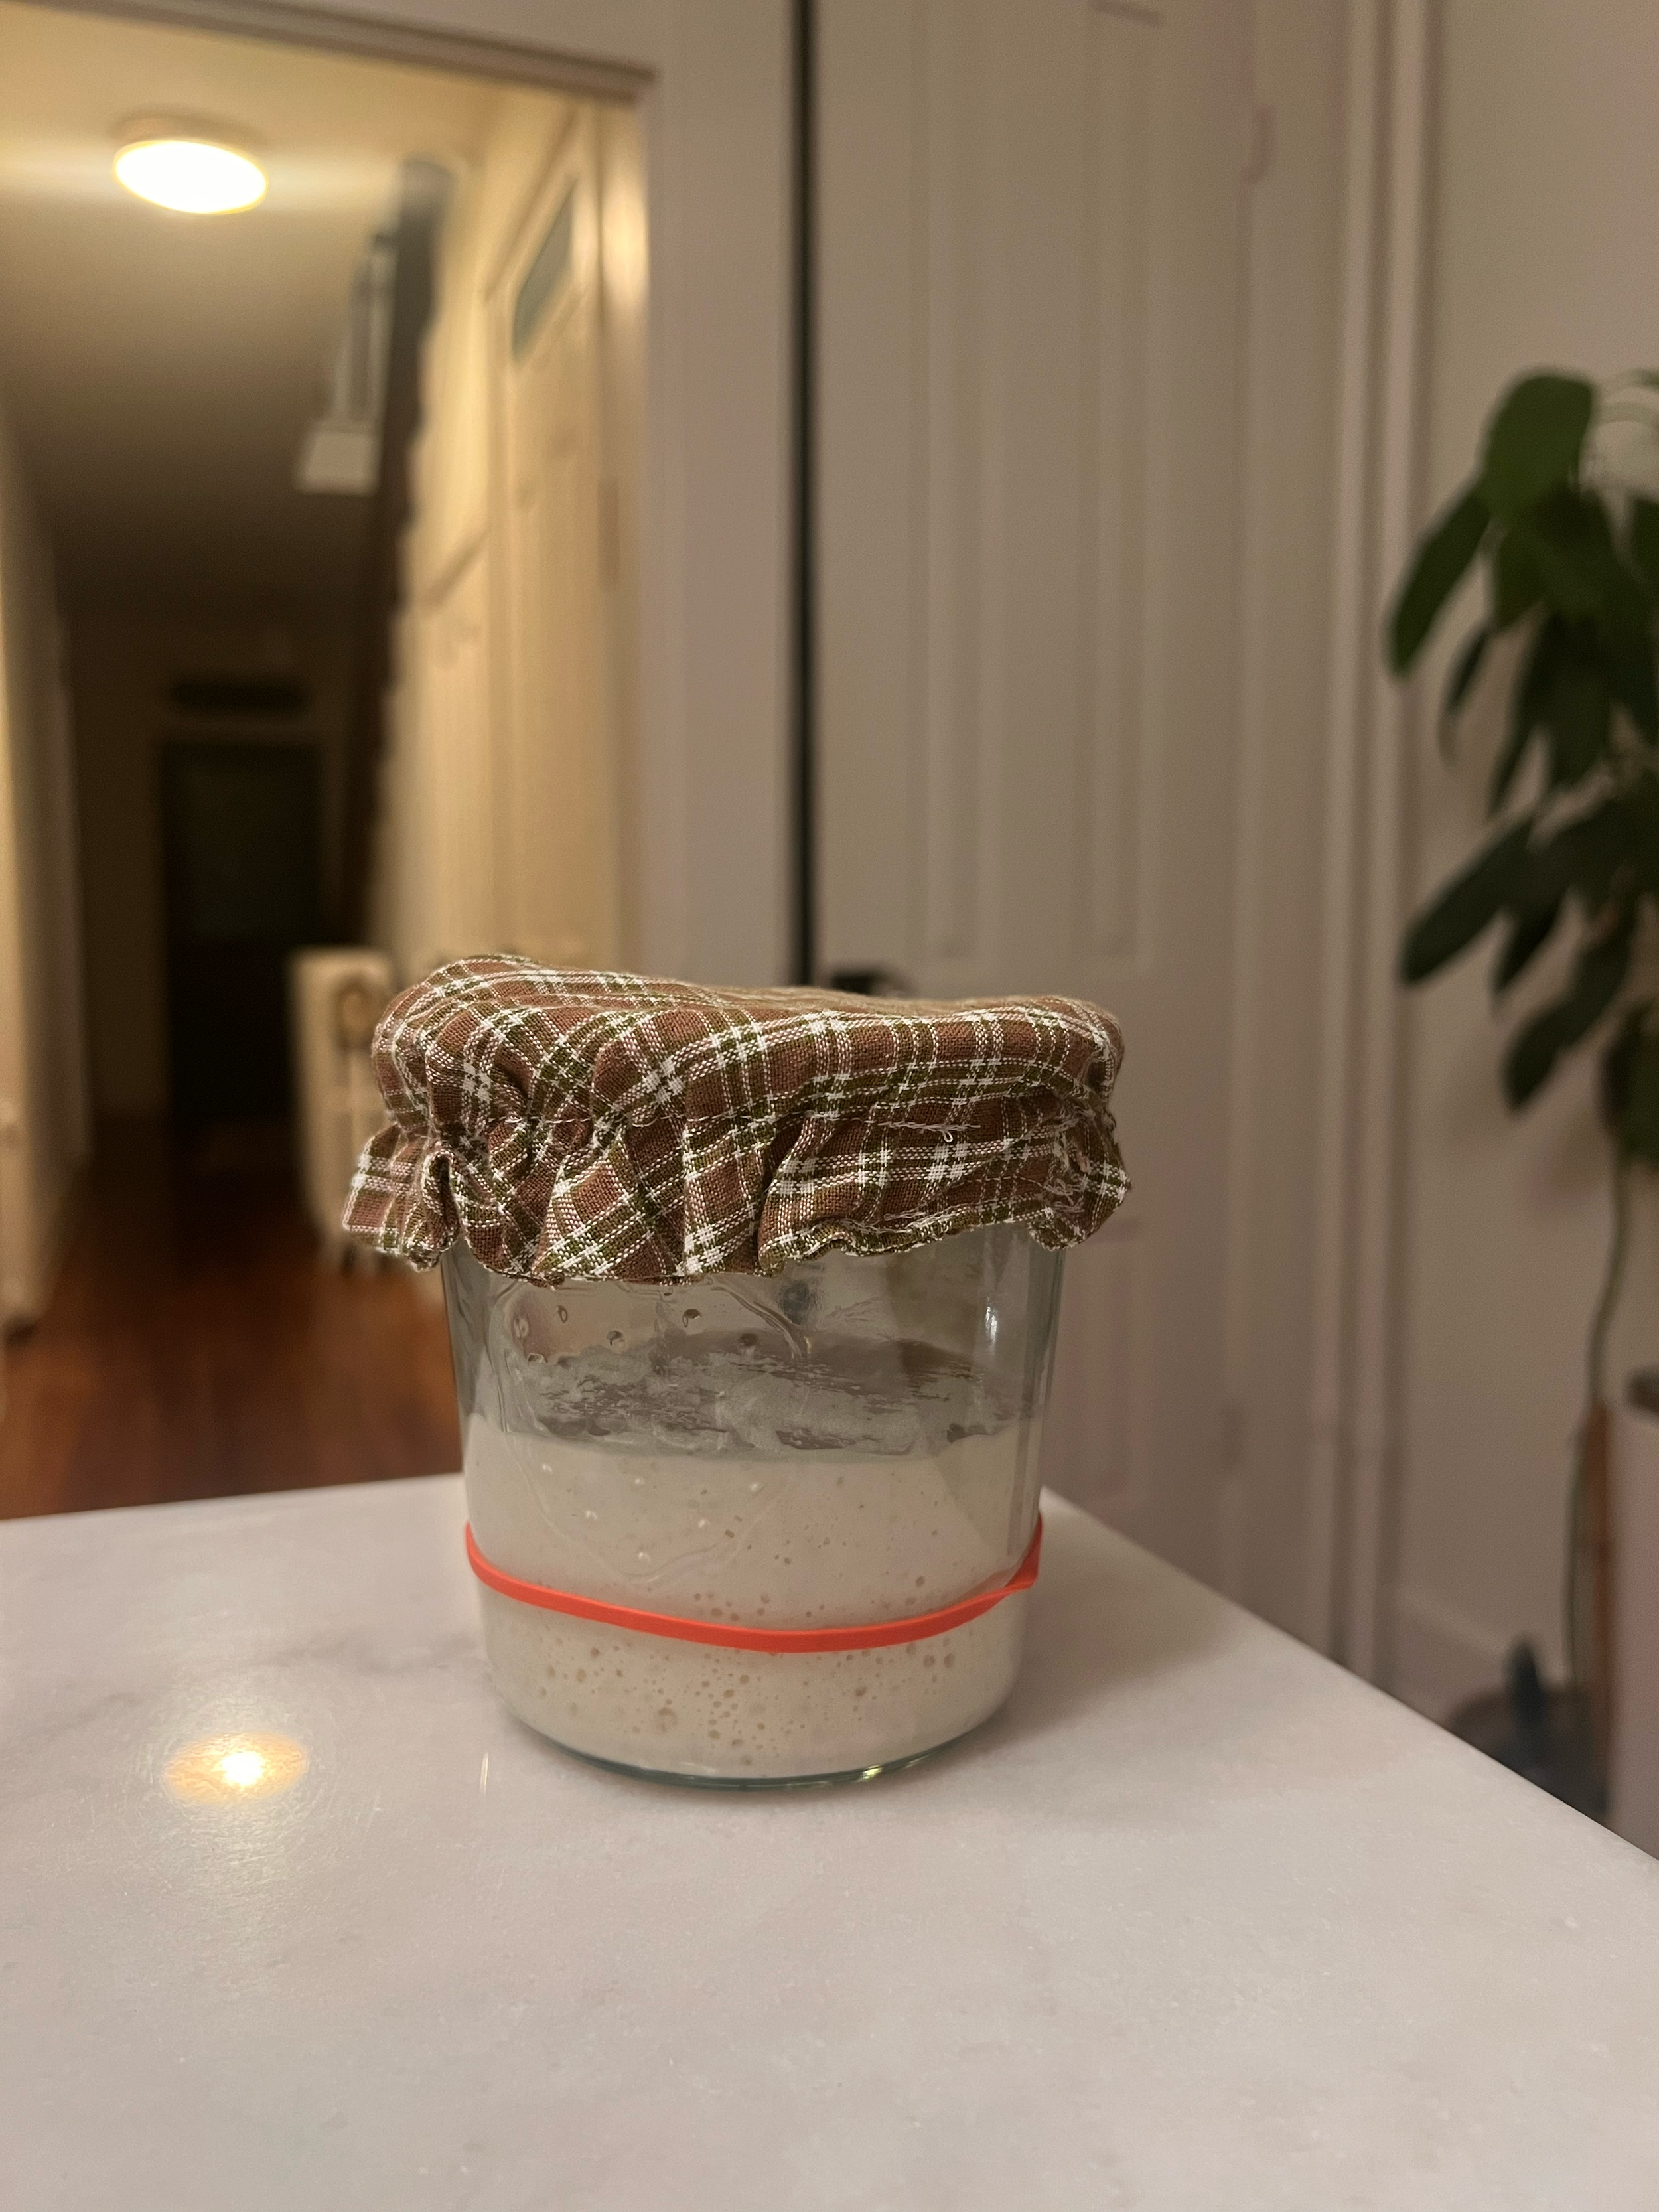
Cover, place the rubberband marker at the starter’s level to track its starting place. You can either leave on the counter and feed again in 12-24 hours, or let it sit on the counter for 1 hour, then put it in the fridge to stay nice and dormant

Right after feeding
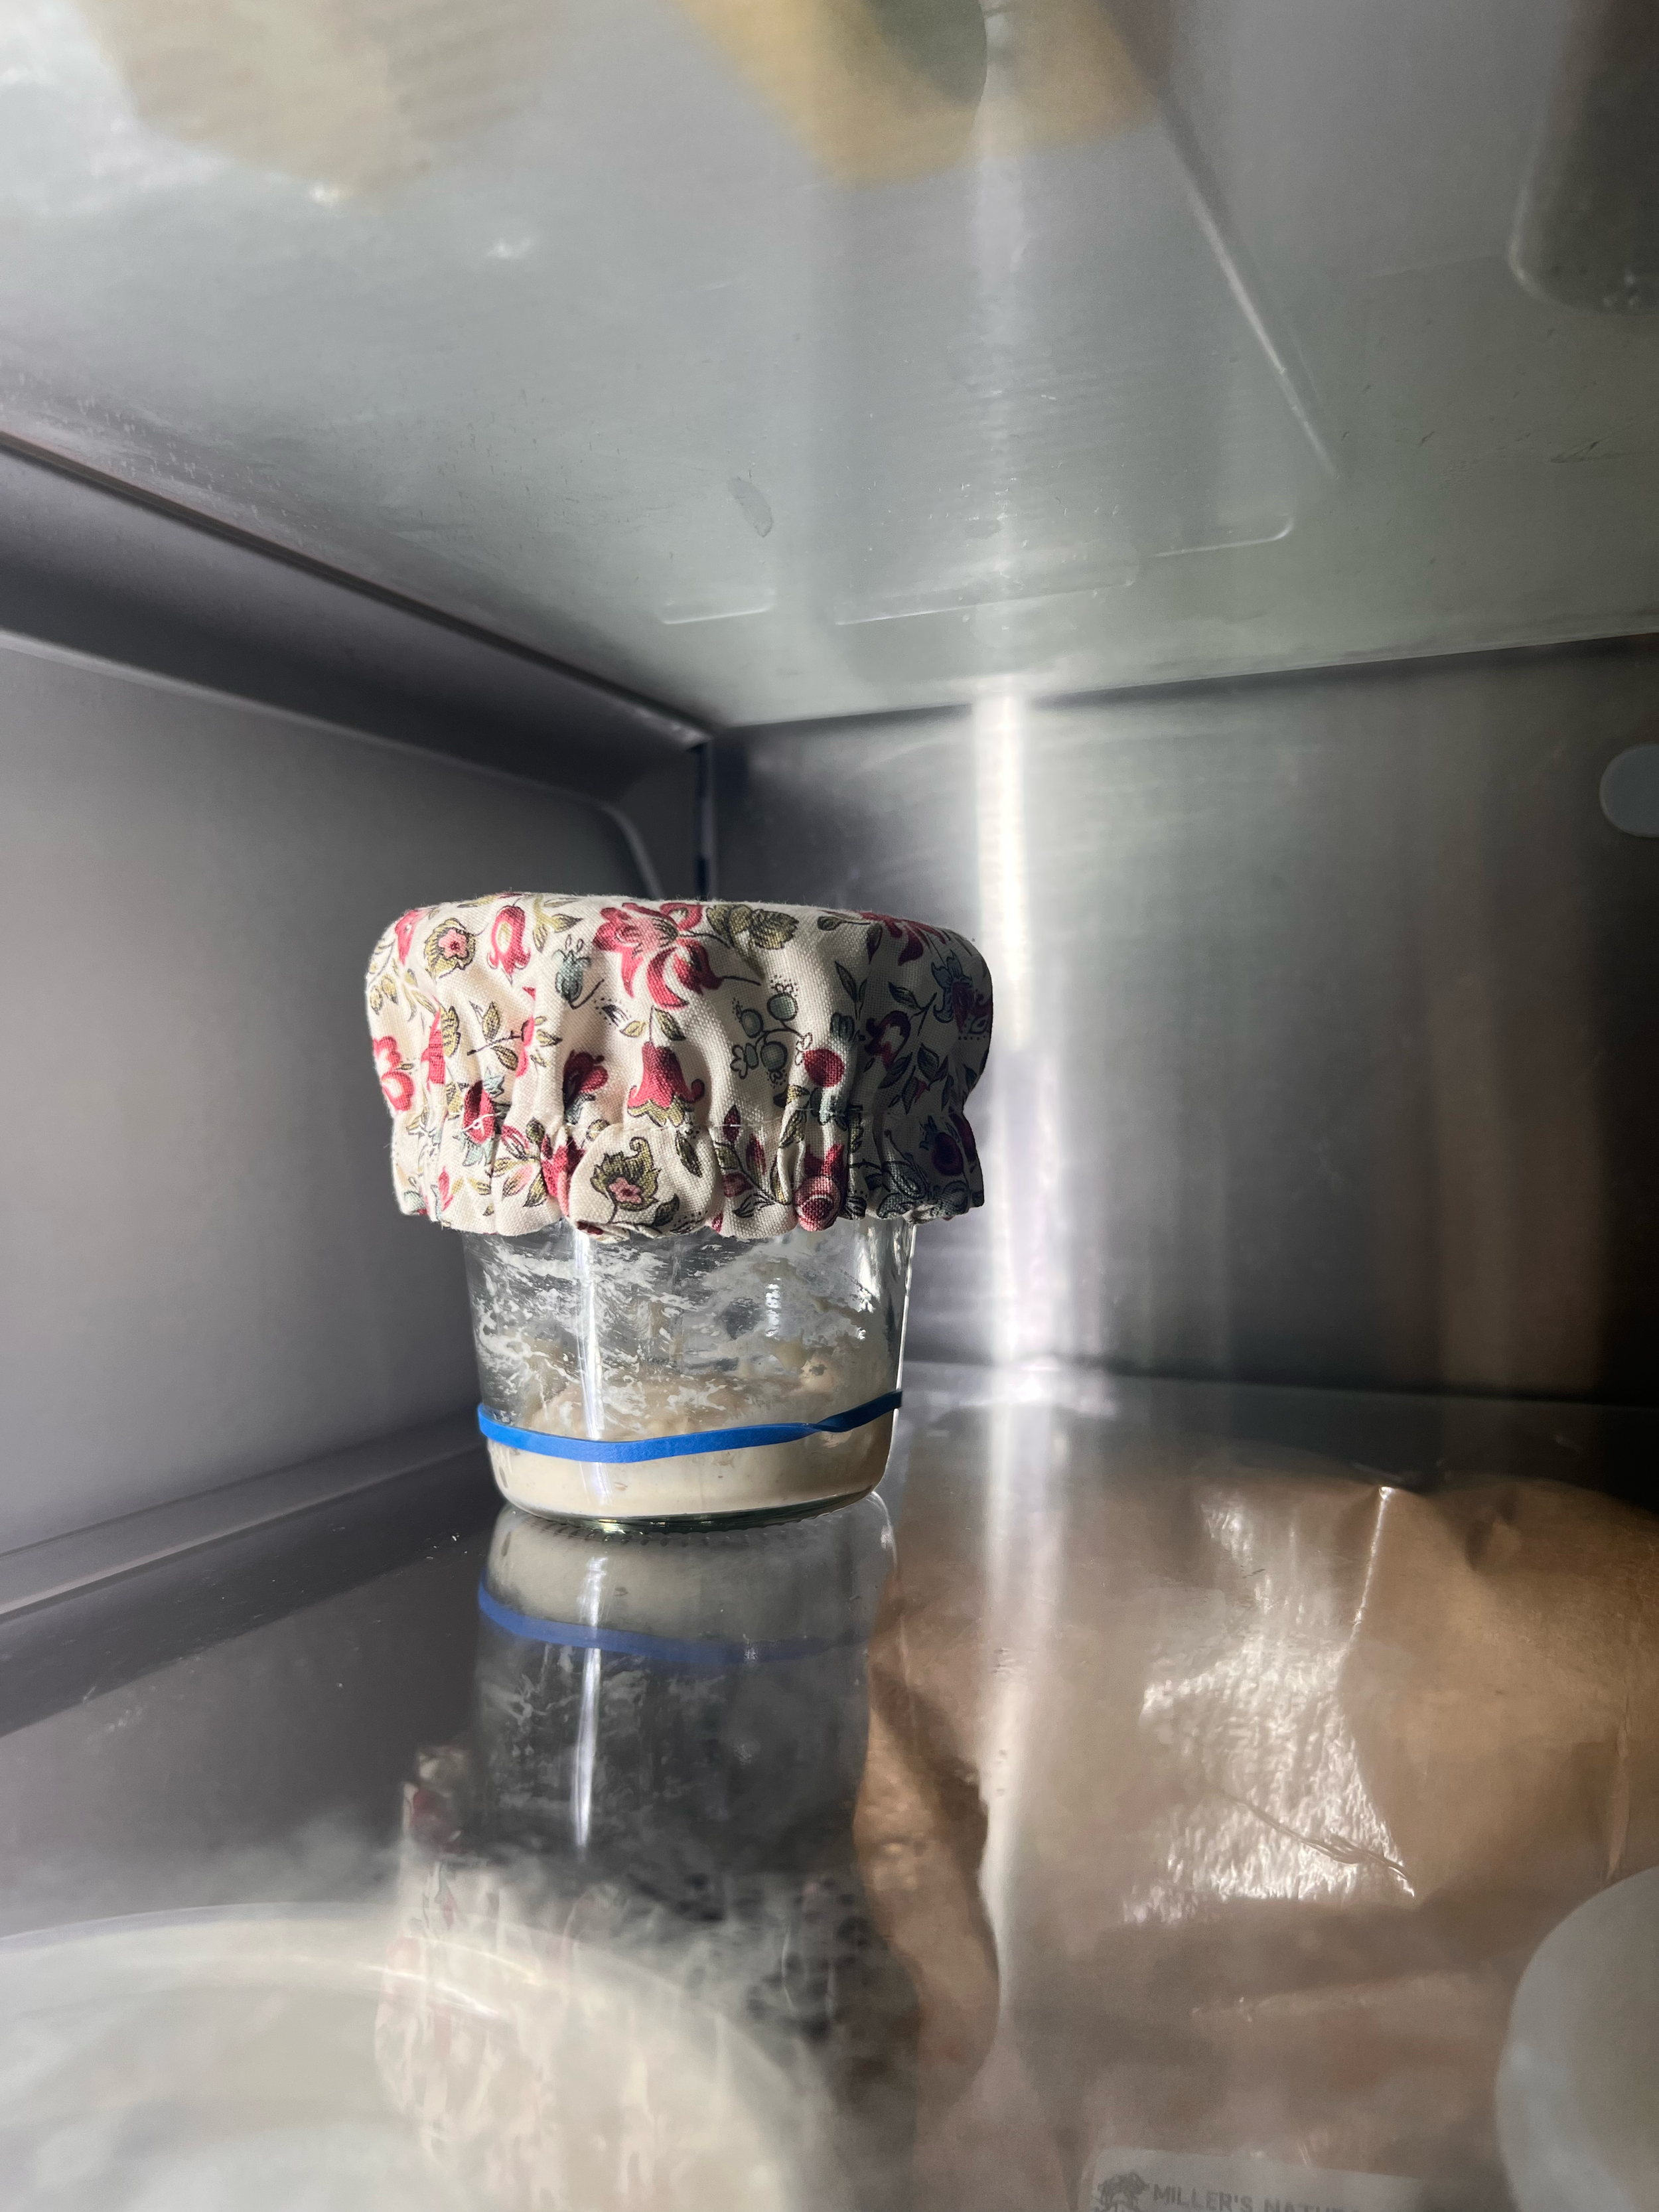
~1 hour at room temp, and then in the fridge to stay dormant
Build For A Loaf
When You’re Ready to Bake (1:2:2 ratio)
To make enough active starter for baking, feed at a 1:2:2 ratio (starter:flour:water):
21g starter
42g flour
42g water
Mix, cover, and let it rise until it’s bubbly and at its peak — that’s when it’s ready to use.
This will give you 100g for my loaf recipe, plus 5g leftover to keep your starter going. This leaves about enough to feed it the “tiny starter maintenance” ratio 1:5:3 (3g starter + 15g flour + 10g water). This will be great for feeding, letting it sit for 1 hour, and popping back in the fridge.
Feeding For A Loaf (1:2:2 ratio)
In the same jar or in a fresh jar, make sure you have ~21 grams starter
Add in 42 grams flour
Add in the 42 grams of ~80°F water (either with a kettle that tells you the temp., or a basic kettle and thermometer)
Stir vigorously until combined and there are no pockets of dry flour
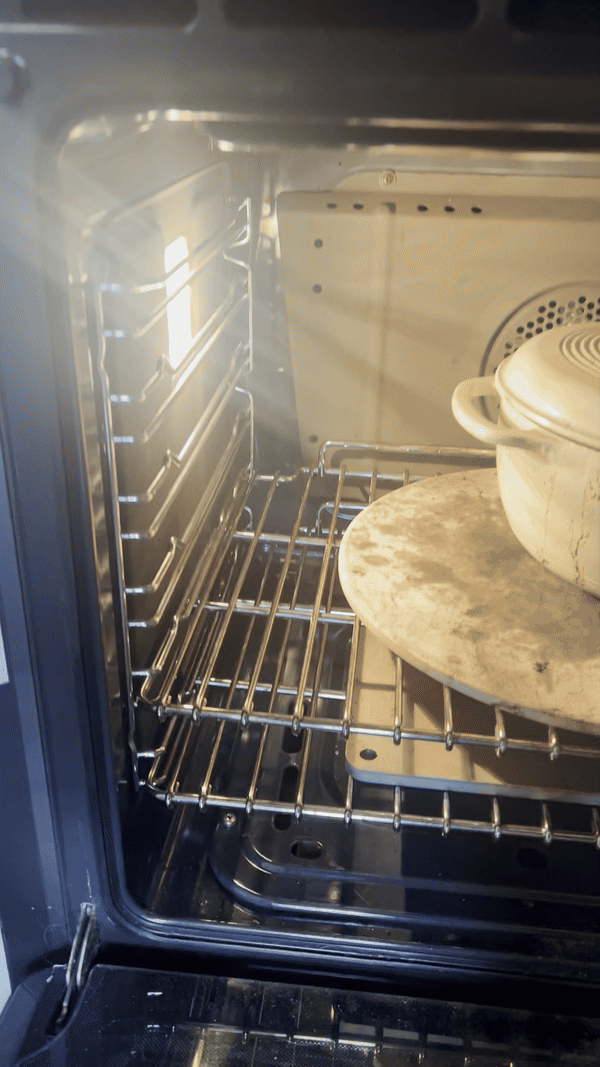
Cover, place the rubberband marker at the starter’s level to track its starting place, and store at room temperate. If your kitchen is a little cold, you can put it in the oven with the pilot light on.
Right after feeding it a 1:2:2 ratio
~6-8 hours after feeding it a 1:2:2 ratio
(and perfect for a bread loaf!)
What’s next?!
Now that you know how to keep your sourdough starter happy and thriving, it’s time for the fun part—baking! Let’s dive into how to use your starter and create your first artisan loaf that’s as beautiful as it is delicious.

Heads up! A few links are affiliate links, which means I earn a tiny commission if you shop through them.
No extra cost to you, just a way to keep the lights on and my sourdough happy.
Hydrated Starter FAQs
-
A mixture of flour and water that captures wild yeast and bacteria from the environment to naturally leaven bread.
-
Make sure it matches the type of starter you received:
Organic starter: King Arthur Organic Bread Flour
Whole wheat starter: King Arthur or freshly milled whole wheat flour
Einkorn starter: Jovial organic einkorn flour
Gluten-free starter: King Arthur GF Bread Flour
-
There are a few factors that dictate how long your starter will get to its peak (at least double in volume) and become read to use in a bread or other sourdough recipe. This should take ~6-8 hours from feeding it to doubling.
How active (or inactive) you’re starter is. If you just pulled it out of the fridge or haven’t fed it in a while, you may have to do a couple of rounds of feedings before you get a nice, bubbly start that’s perfect for making your bread rise!
The temperature in your kitchen can play a part in how long your starter will take to rise. The colder, the slower. The warmer, obviously the faster. This also goes for how quickly your bread loaf will proof if it’s proofing out on the counter.
The feeding ratio plays a big role in rise time because it affects how much food the yeast and bacteria have to consume.
1:1:1 Feeding Ratio (Equal Parts Starter:Flour:Water)
Rise Time: Typically 4–8 hours at room temperature (around 75°F / 24°C).
Why: There’s less food available relative to the amount of starter, so the yeast and bacteria consume the fresh flour quickly, leading to a faster rise and peak.
Best For: Bakers who plan to use the starter soon (e.g., baking the same day) and want a quick refresh.
1:2:2 Feeding Ratio (Starter:Flour:Water)
Rise Time: Typically 6–12 hours at room temperature.
Why: There’s twice as much food for the microbes compared to the 1:1:1 ratio, so it takes longer for the starter to reach peak activity. This ratio can also lead to a milder flavor because the bacteria have a longer feeding cycle.
Best For: When you need a longer window before the starter peaks or when you want to build strength and reduce acidity.
Rule of Thumb:
More flour/water relative to starter = slower rise, longer peak.
Less flour/water relative to starter = faster rise, shorter peak.
-
Only if it’s free from chlorine or chloramine. Filtered or spring water is best.
-
It could be too cold, underfed, or using bleached flour or chlorinated water.
-
Tangy, yeasty, slightly fruity or vinegary—but never rotten, moldy, or foul.
-
Nope! It’s just alcohol produced by the yeast. Stir it in or pour it off before feeding.
-
It should double in size within 6-8 hours of feeding, smell pleasantly sour, and pass the “float test” (a small spoonful floats in water).
-
Yes! Once you’re starter is properly active, you can use the discard in lots of different recipes to add some airiness, tangier taste, and those fermentation benefits. Use it in pancakes, waffles, crackers, muffins, or banana bread.
-
Yes, and many people keep their starters in the fridge if they aren’t bake daily. Keeping your starter in the fridge will keep it in a dormant state. Leaving it on the counter for longer than a week runs the risk of it becoming too acidic or developing mold. Feed weekly to keep it healthy. My rule of thumb is I’ll pop it in the fridge if I know I wont use it for use 3 or more days.
-
Well, you 100% WILL. Hopefully, I can pass along more or my experience and tips with you through my website, Instagram, Facebook, and instruction sheets I sell. I’ve started a Facebook community for people to ask and answer questions, as well as share their journey and experiences baking sourdough! Join HERE